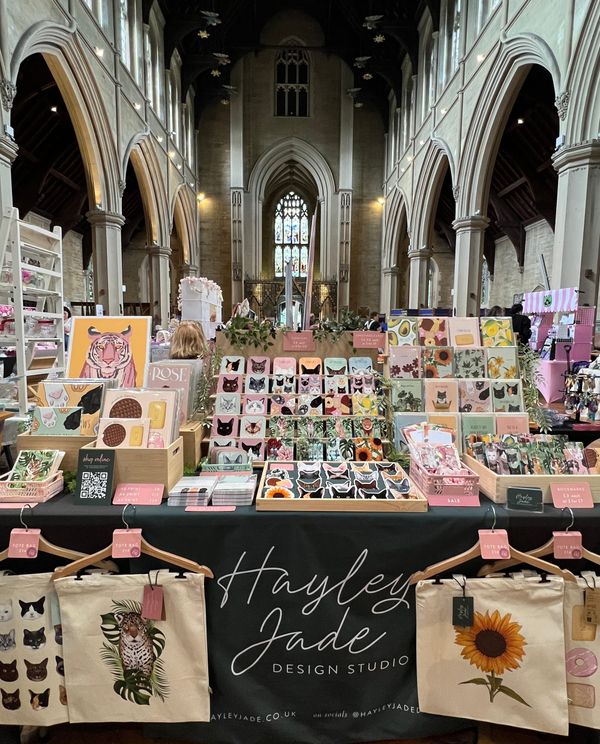
Editing Photos

I mentioned in a previous post about editing photos as a must when it comes to product photos, so I thought I'd expand on that a little, and show how editing photos really does make a difference!
I'll show two examples: one taken with a phone camera, and edited entirely on an app on my phone and the second, taken with an SLR camera and edited in Lightroom/Photoshop. Both are great ways to edit, but of course it does depend on the tools you have, and anyone can take a photo on their phone and edit completely for free!
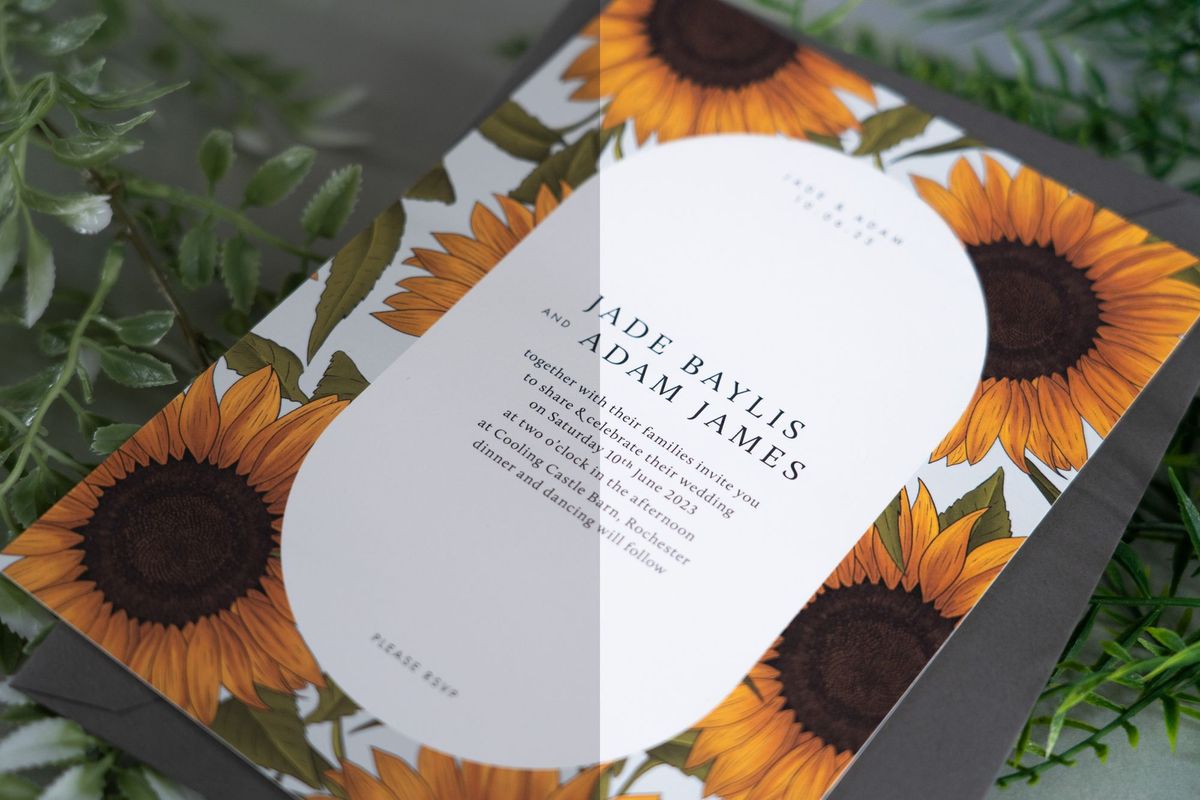
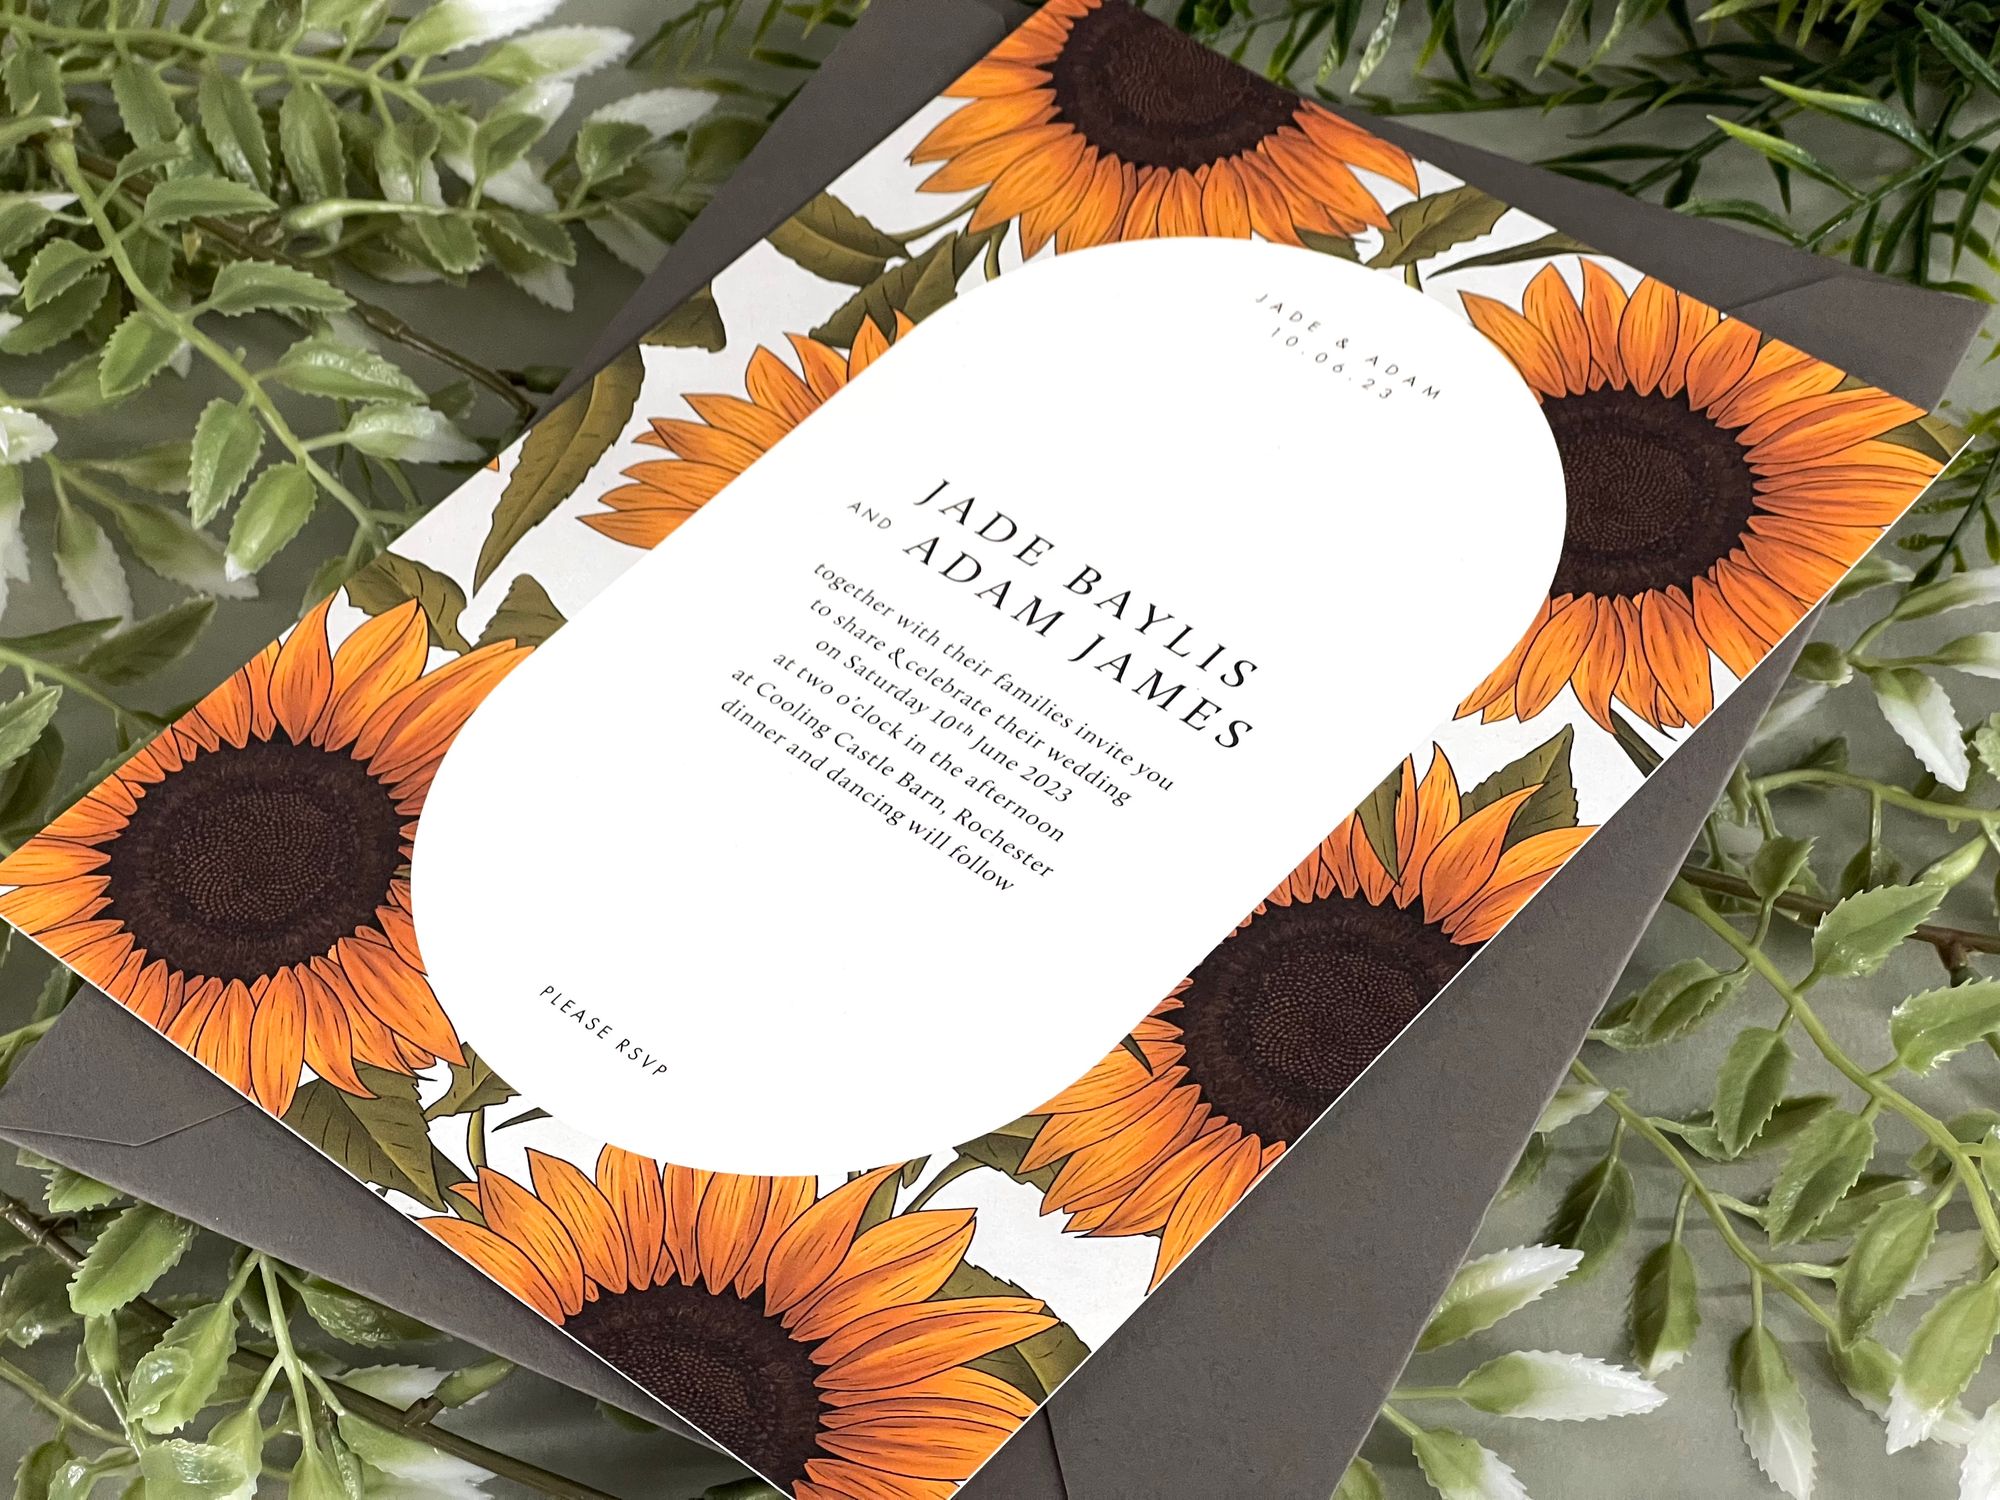
So here is the phone vs camera shot of the Sunflower Wedding Invitation:

Phone vs Camera
There's clearly some differences, but the phone photo, if it wasn't next to the photo taken with the camera, you'd probably not really realise what it was taken on. A major point of difference between phones and cameras, which is shown slightly in this example, is depth of field: it's not something you really get with taking photos on a phone, at least not up close.
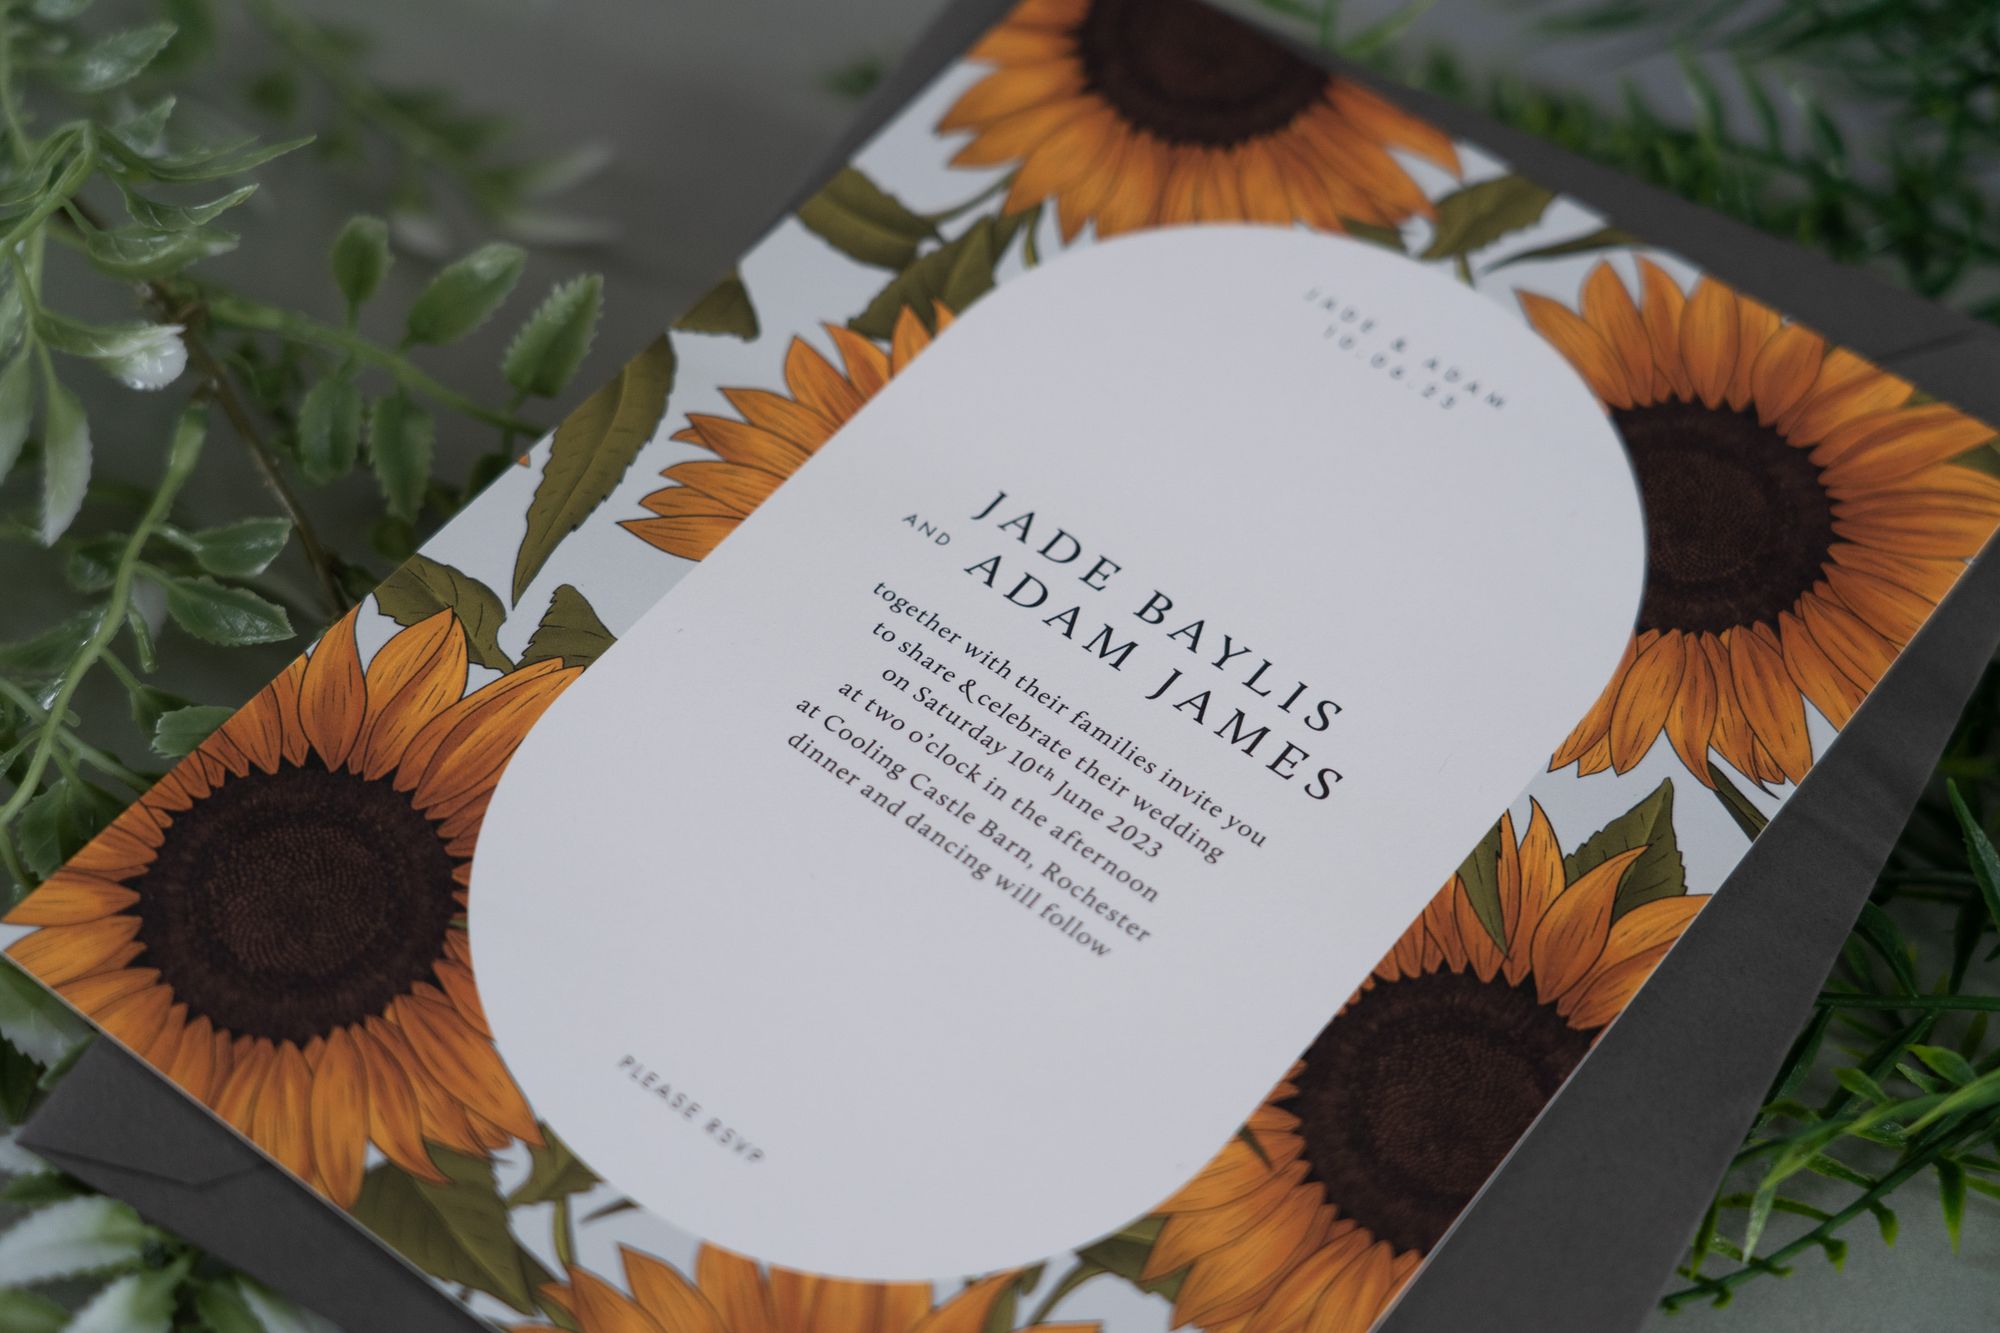
Editing on a phone

Before (left) & After (right) editing
So, here is the original image we are working with. I took it on my phone (an iPhone 13 max pro for reference).

When I edit on my phone, I always just edit in the photos app - I will sometimes open the photo in an app called Snapseed (free in the app store!), but this usually more for removing imperfections etc. with the healing brush.
Below is a screen recording of me editing the photo in the Photos app. I literally just play around with the settings until I get something that looks good - you tend to need to adjust the exposure/brightness more than you think, but not too bright that it ends up over-exposed! I find removing some of the shadows really makes photos taken on phones pop a bit more - this and the contrast are good to play around and adjust.
& voila, we end up with this:

Not a huge difference, and I'm not saying it's perfect, and I'm sure there are more changes that could be done but I think it looks pretty good, definitely much better than the original photo which just looked a bit dull!
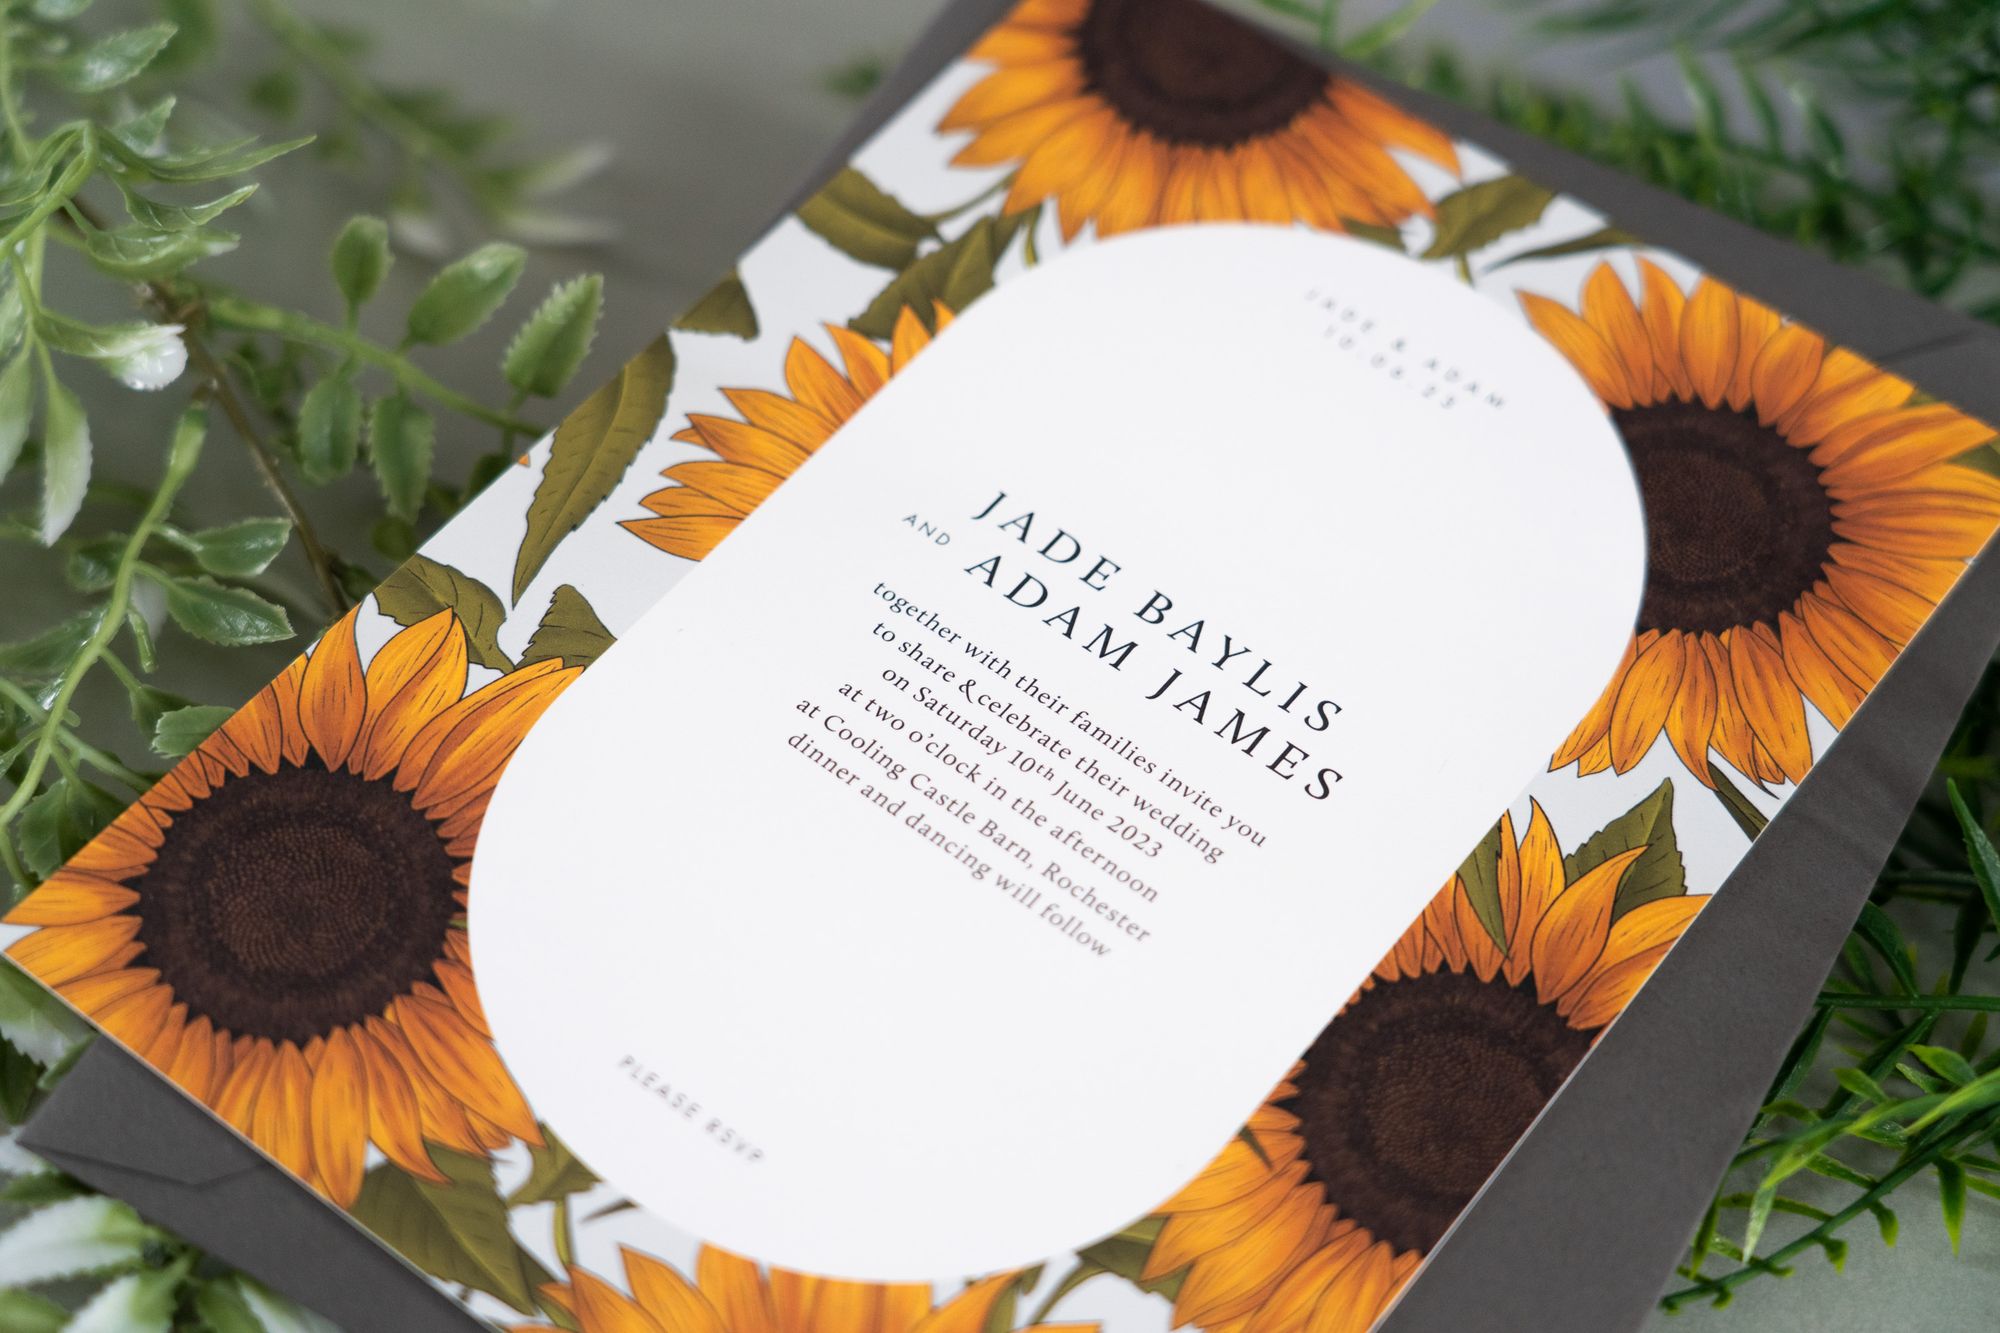
Editing with Lightroom


Before (left) & After (right) editing
I, as a rule, take my product photos with a camera (I use a Sony A7 III camera with a Sony FE 24-105mm f4 G OSS lens - it's my husbands camera that I just nab!), and these are taken as RAW images, which means it captures more detail and you have more control over editing them.
Here's the before:
As you can see it's a bit dark. I probably really don't fully take advantage of editing a RAW file, but below is the process of me editing this photo in Adobe Lightroom. Unlike with a phone, you can pick out a white area to try and correct the temperature - sometimes it works, sometimes it doesn't, it depends on actually how white the area is!
By the way, just want to say that I am no pro at photography or editing them, I still can never remember the difference between aperture and ISO, and as said before, most likely do not edit to the full potential.
Here is the final photo!
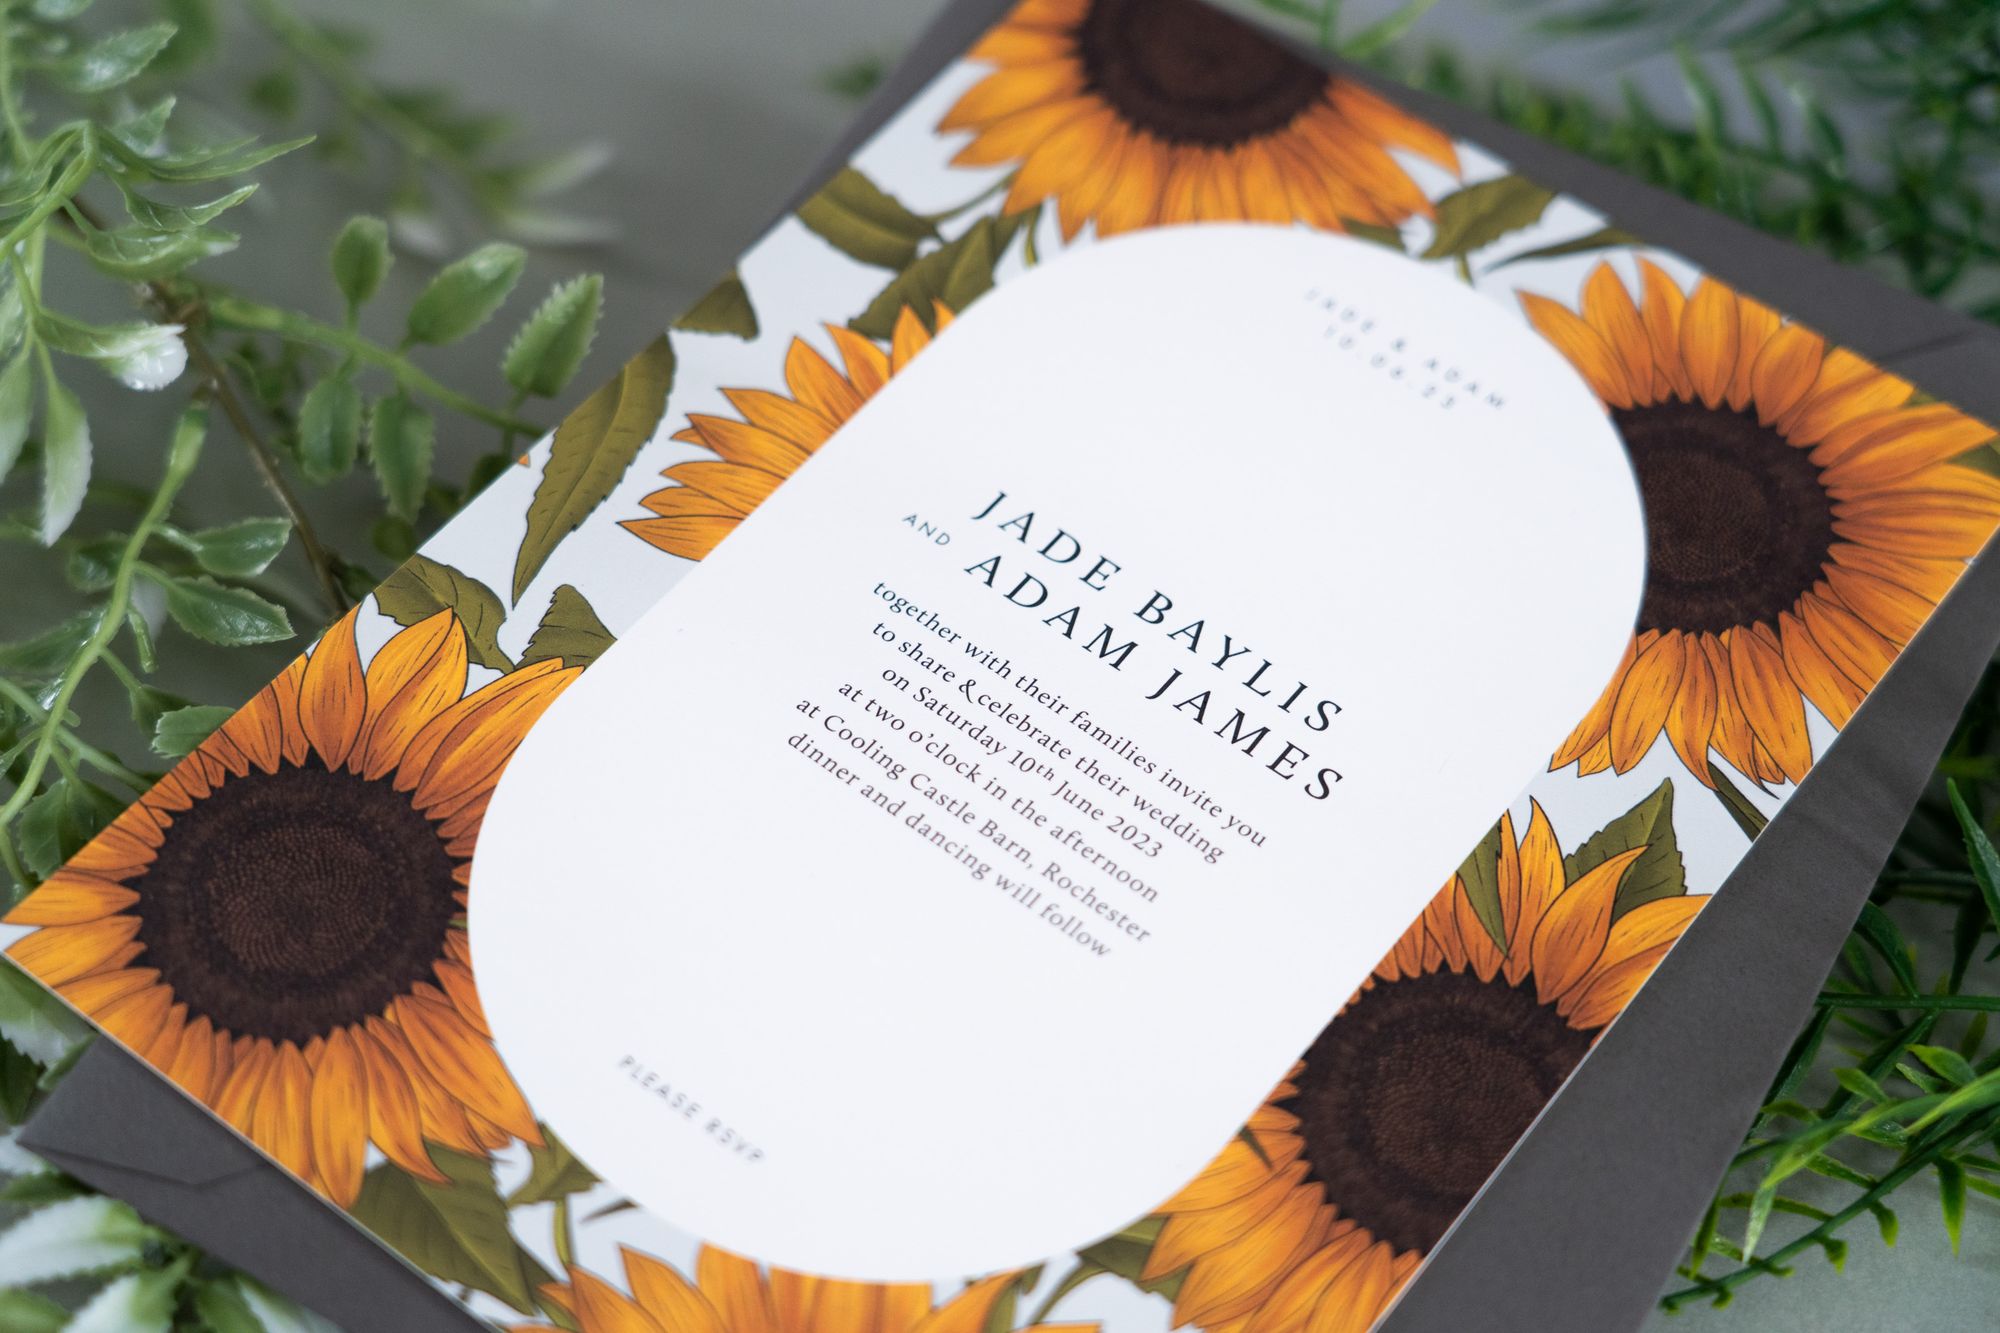
The main point of difference is obviously the light/exposure and the colour temperature has been adjusted slightly.
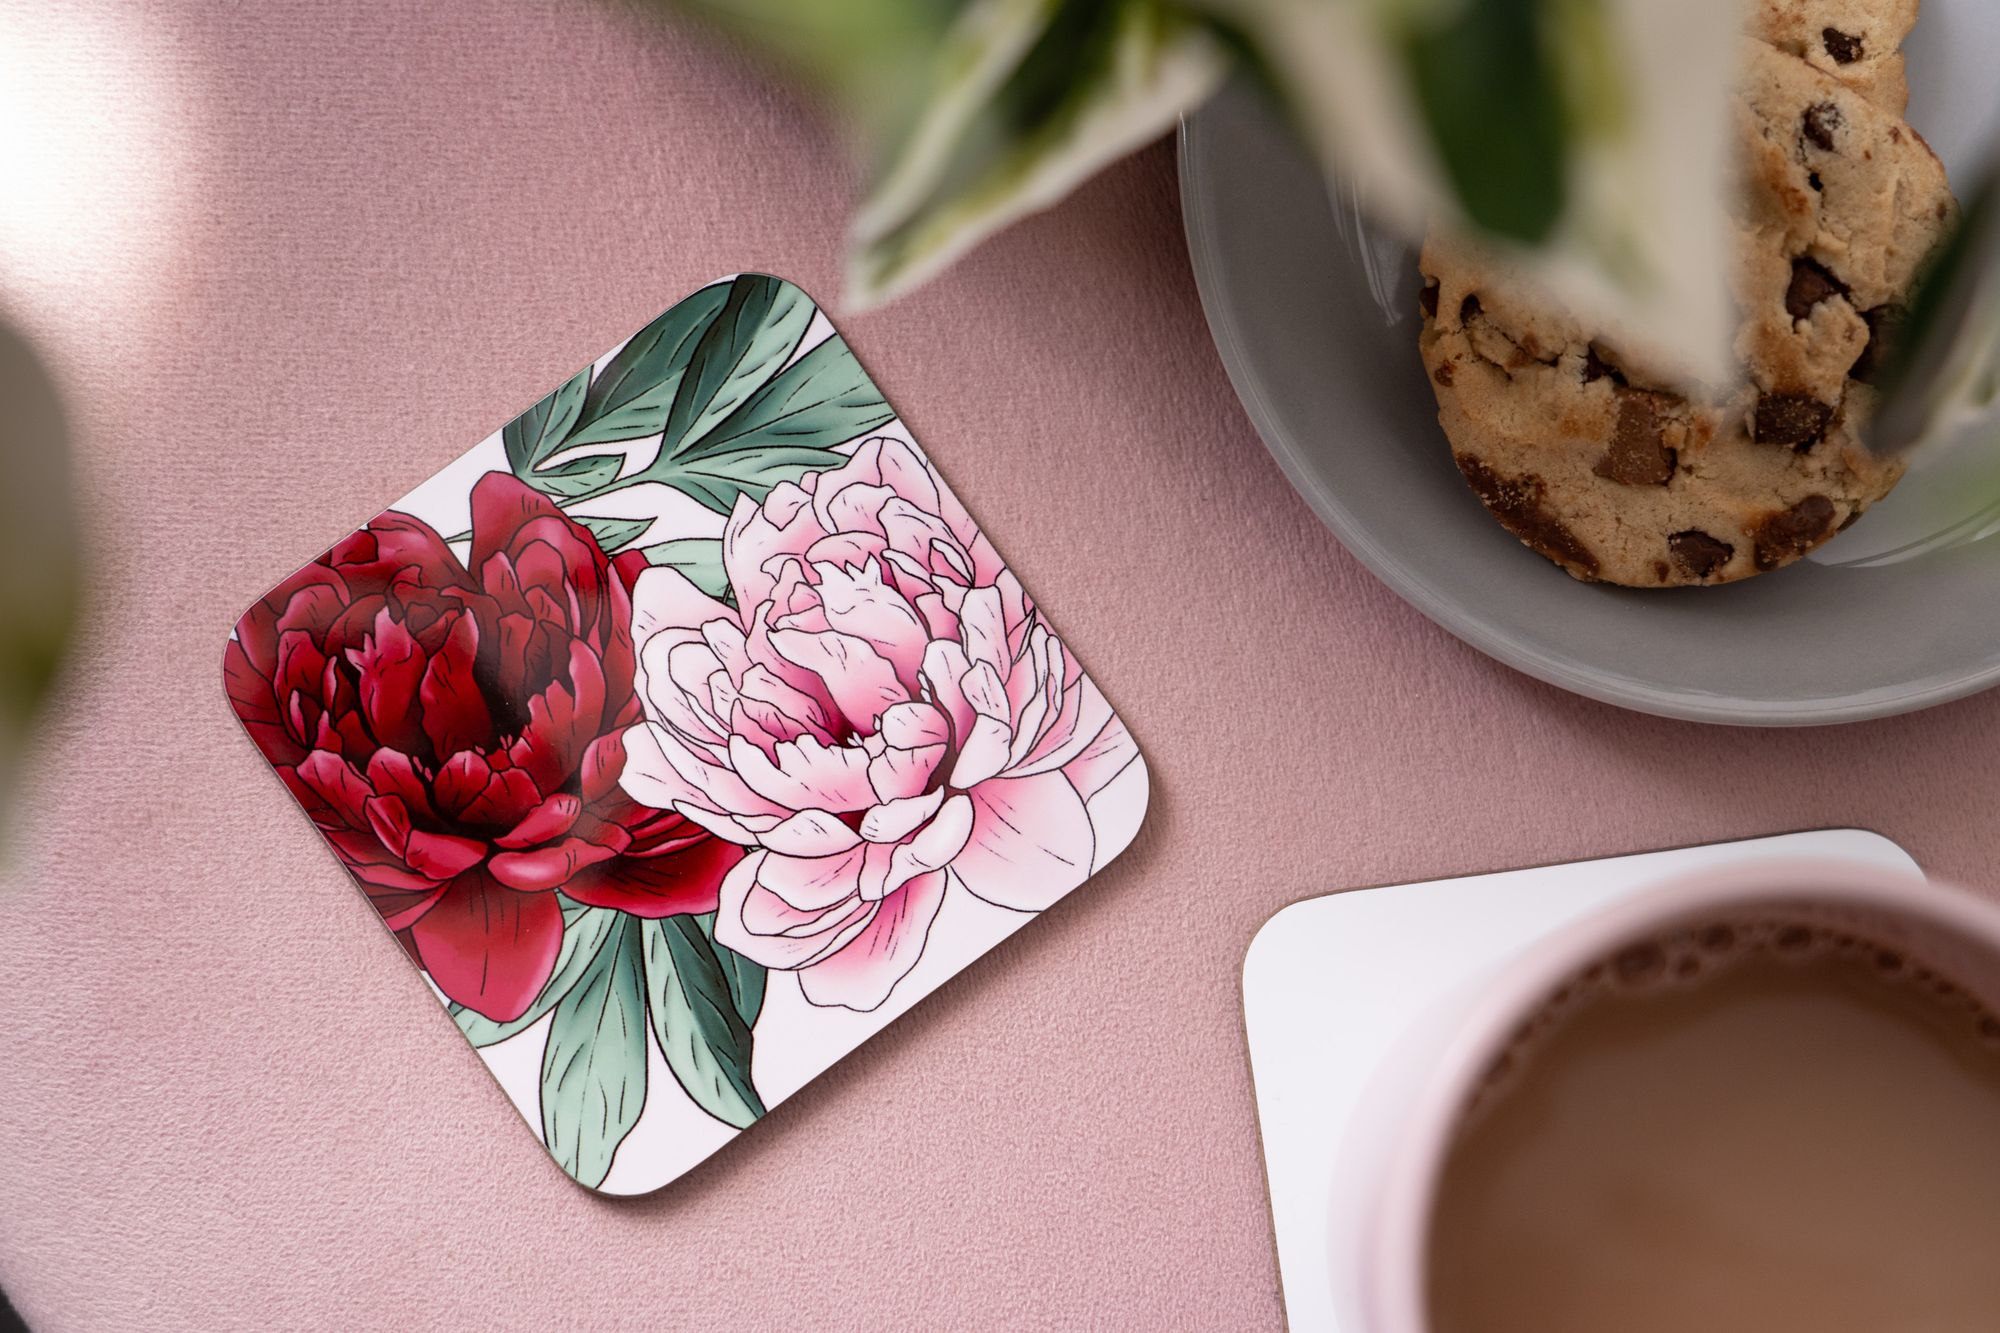
If it needs it, for things like removing marks or bits of fluff that always seem to find their way into photos, I'll then open the photo in Photoshop. There is a healing tool in Lightroom, but I've always preferred to use Photoshop as you can do much more. I also tend to use Photoshop for when I don't have enough of a product, so for example, with my coaster photos, if there's more than one of the same coaster in shot, chances are it's been photoshopped, just like below!
& that's it! Just a little insight into my product photography. If you come away with anything, is that please edit photos you take on a phone, even just adjusting the brightness can make a huge difference to your photo.
Don't forget to follow me on Instagram for all the latest or sign up to the mailing list on the shop to be the first to know of new products, exclusives and 10% off your first order!