Product Photography Tips
Some simple tips for making your product photographs stand out


Post updated August '24, originally posted July '23
I have a love/hate relationship with photography. Sometimes I like taking photos, sometimes it's a real pain. I do always love editing them and seeing the end results, but actual photographing products... it definitely isn't my favourite thing to do!
I'm not a pro at photography. I use an SLR camera (that is actually my husbands) and even though I have been using SLR cameras since I was a teen, I still have to ask him what aperture and ISO are... it just doesn't sink into my brain and even now I couldn't tell you!
So that's all to say, that whether you use a camera or your phone, I've put some tips together to help with things that help make your product photos look good. I hope!
Buy some large coloured card
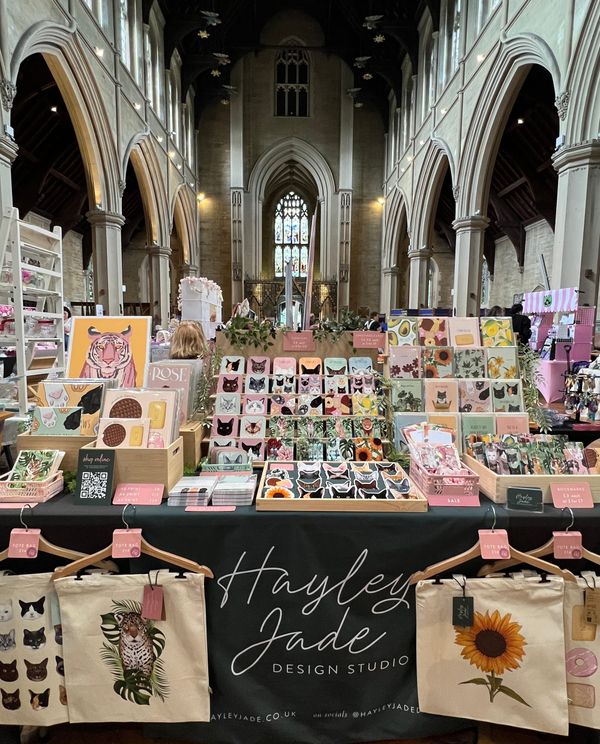
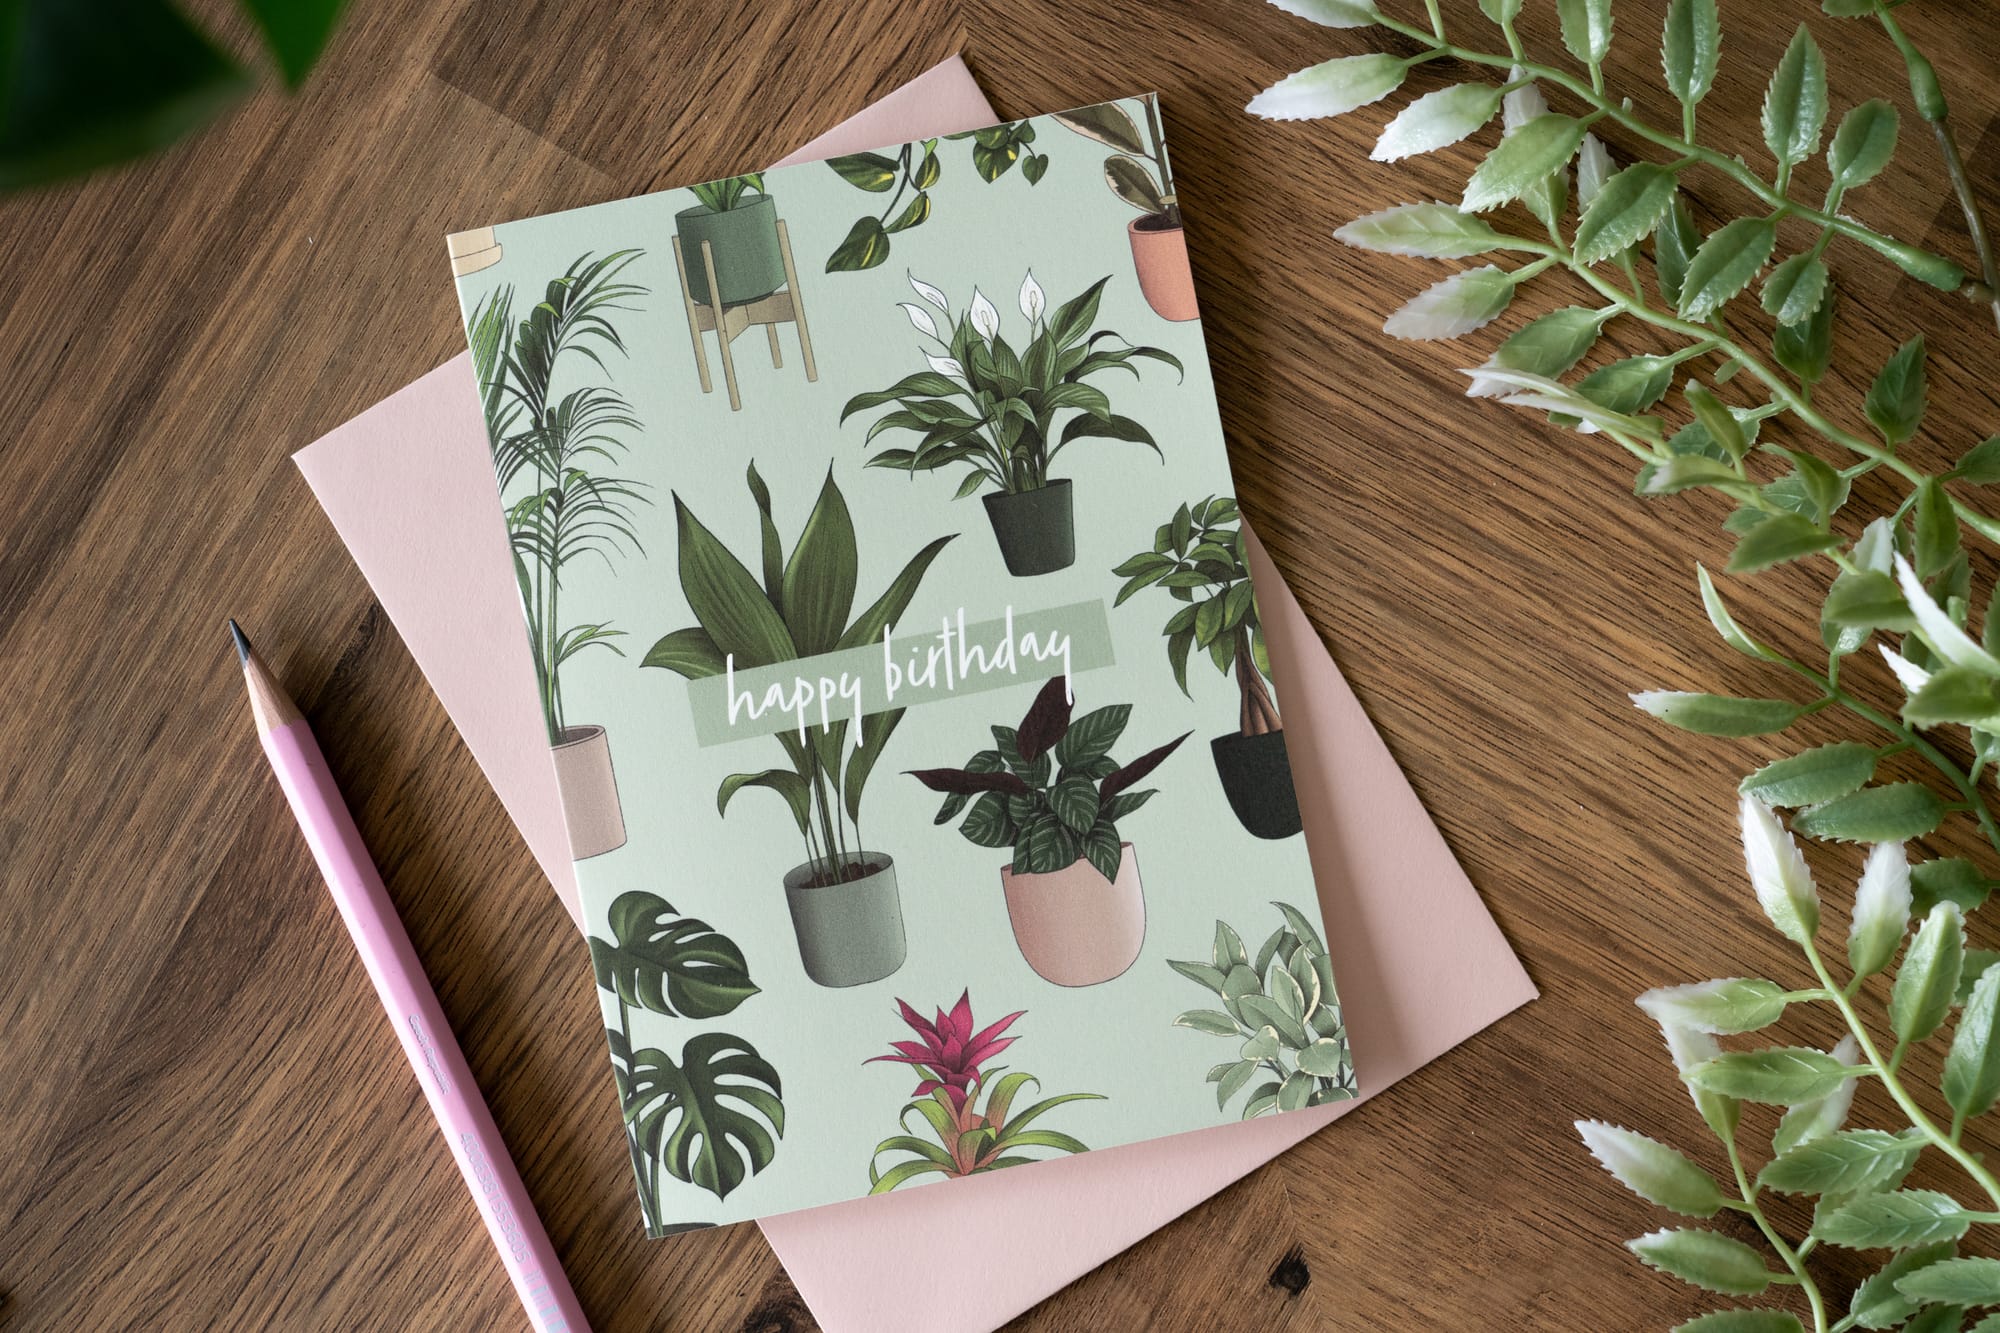
All my photography backdrops are A1 pieces of paper or card in a variety of colours. You can get these at shops like Hobbycraft or The Range (or any other art shop) for usually a few pounds. With larger pieces of paper in particular, you can bend the paper to get a completely seamless background for product photos taken front on, as shown in the above photo, just need to tape it against something to keep it from moving!
Remove glass/plastic from photo frames
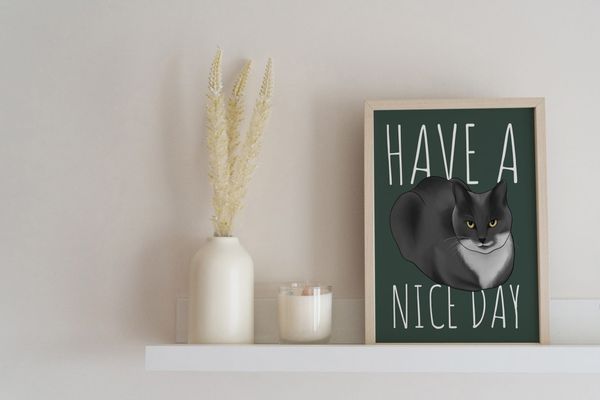
Reflections are a pain, so where you can, remove the glass from photo frames! Such a simple thing to do, and saves you so much time in editing. Or at least make sure to angle your frames away from light sources.
You don't need big fancy lights
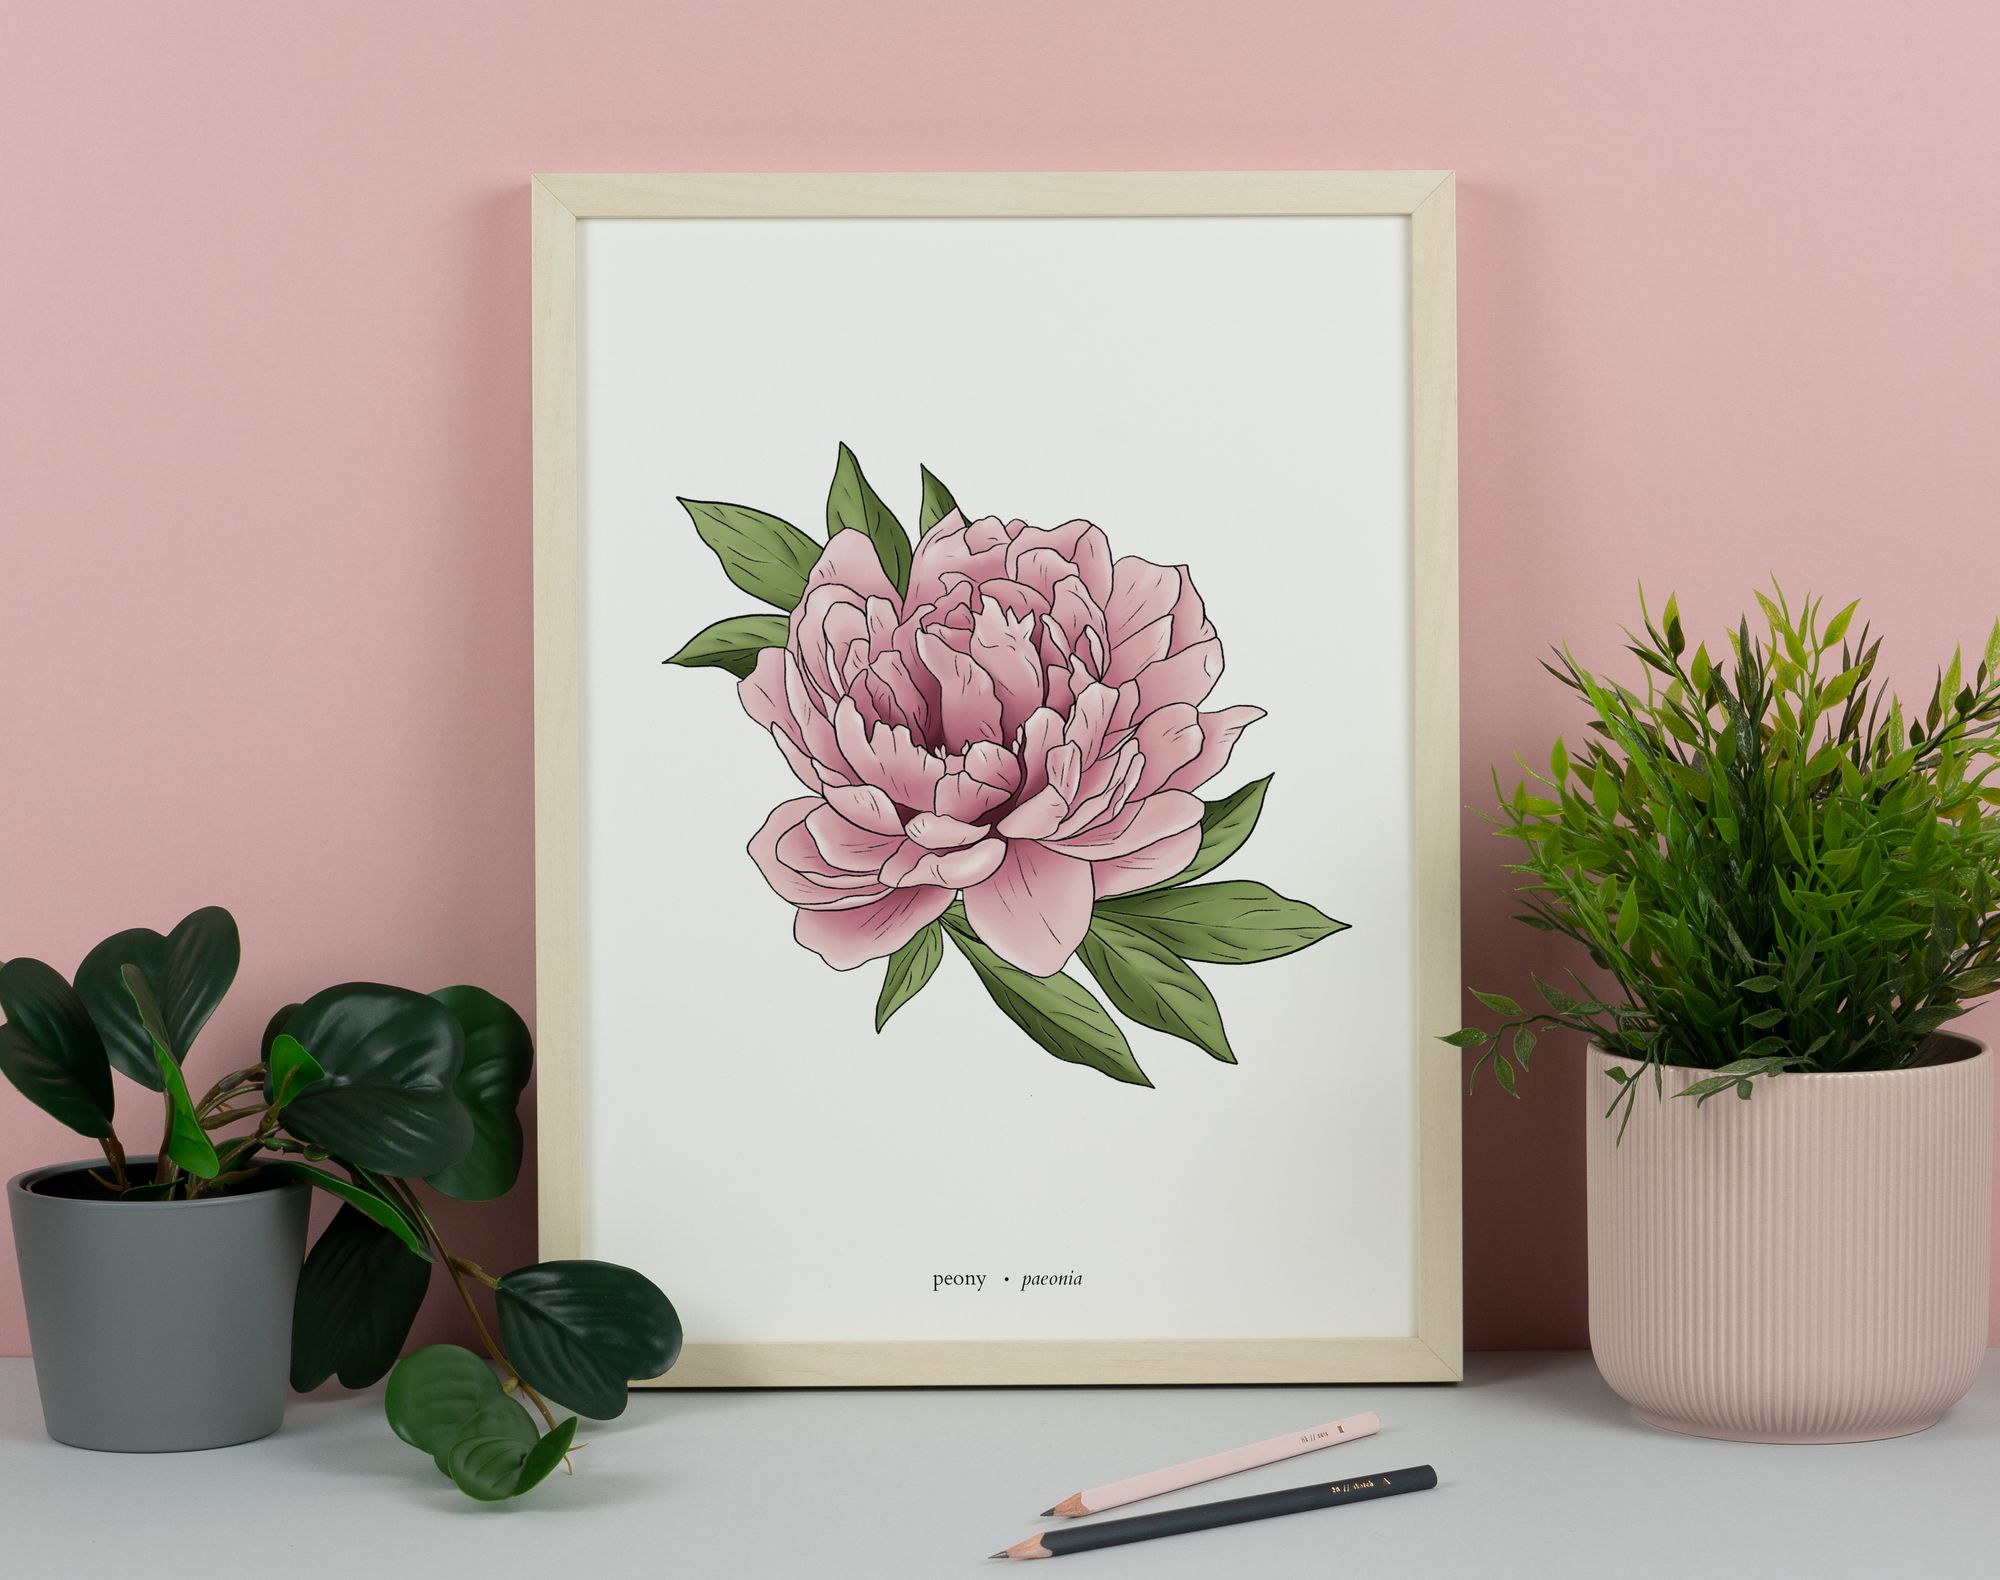
For years I used two upright lights when taking product photos. Recently I've ditched these in favour of using natural light. It might have been me, but I could just never get the lighting right across all my product photos, but using just natural light has been much better! Just make sure you have light coming from both sides if possible to get a more even light source.
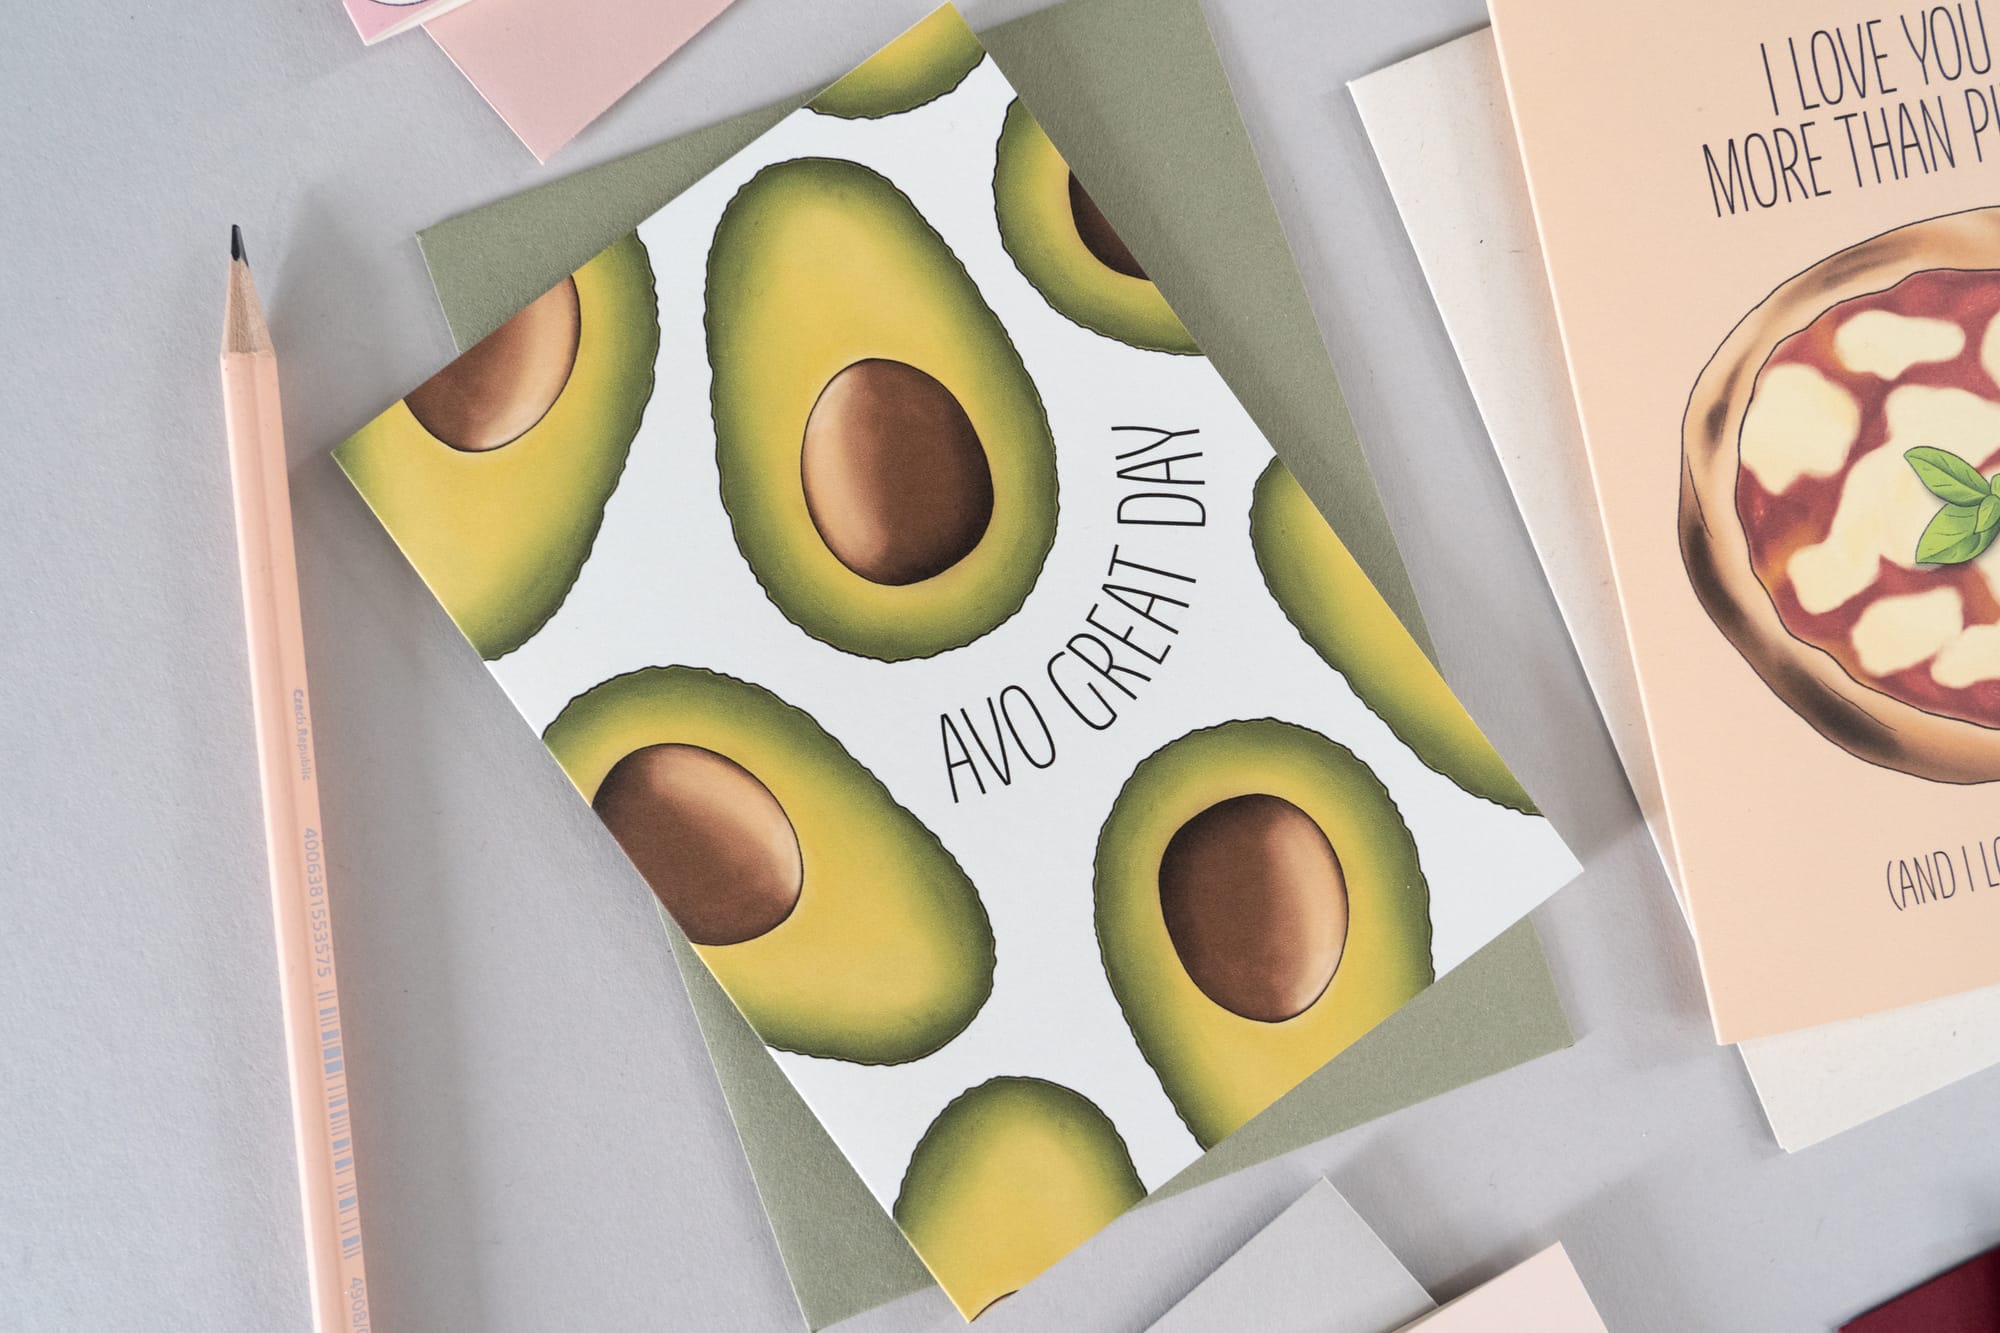
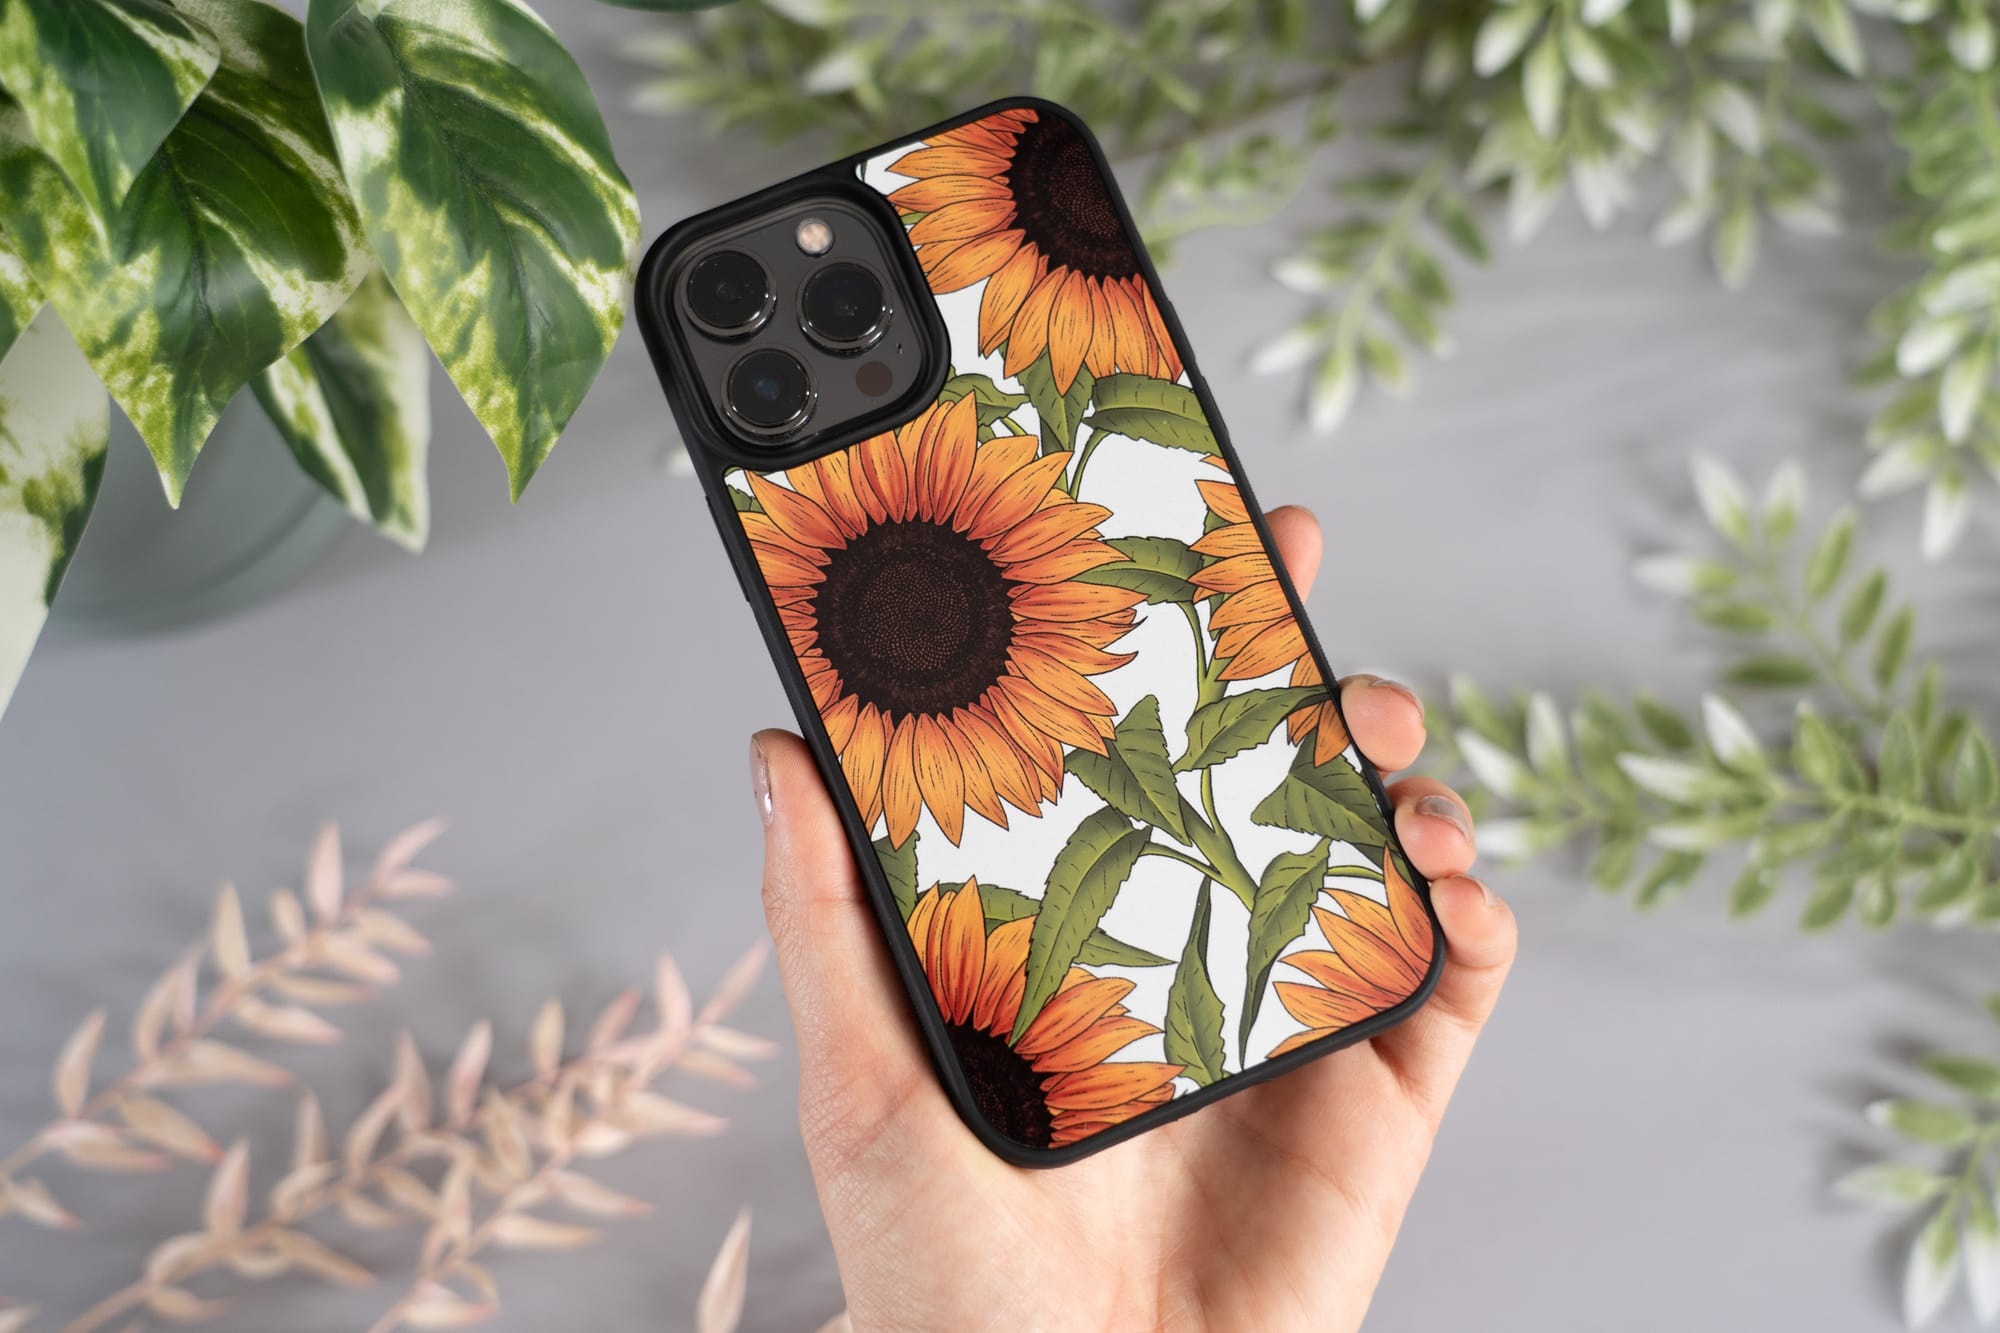
Avocado Card, £3.25; Sunflower Phone Case, £12
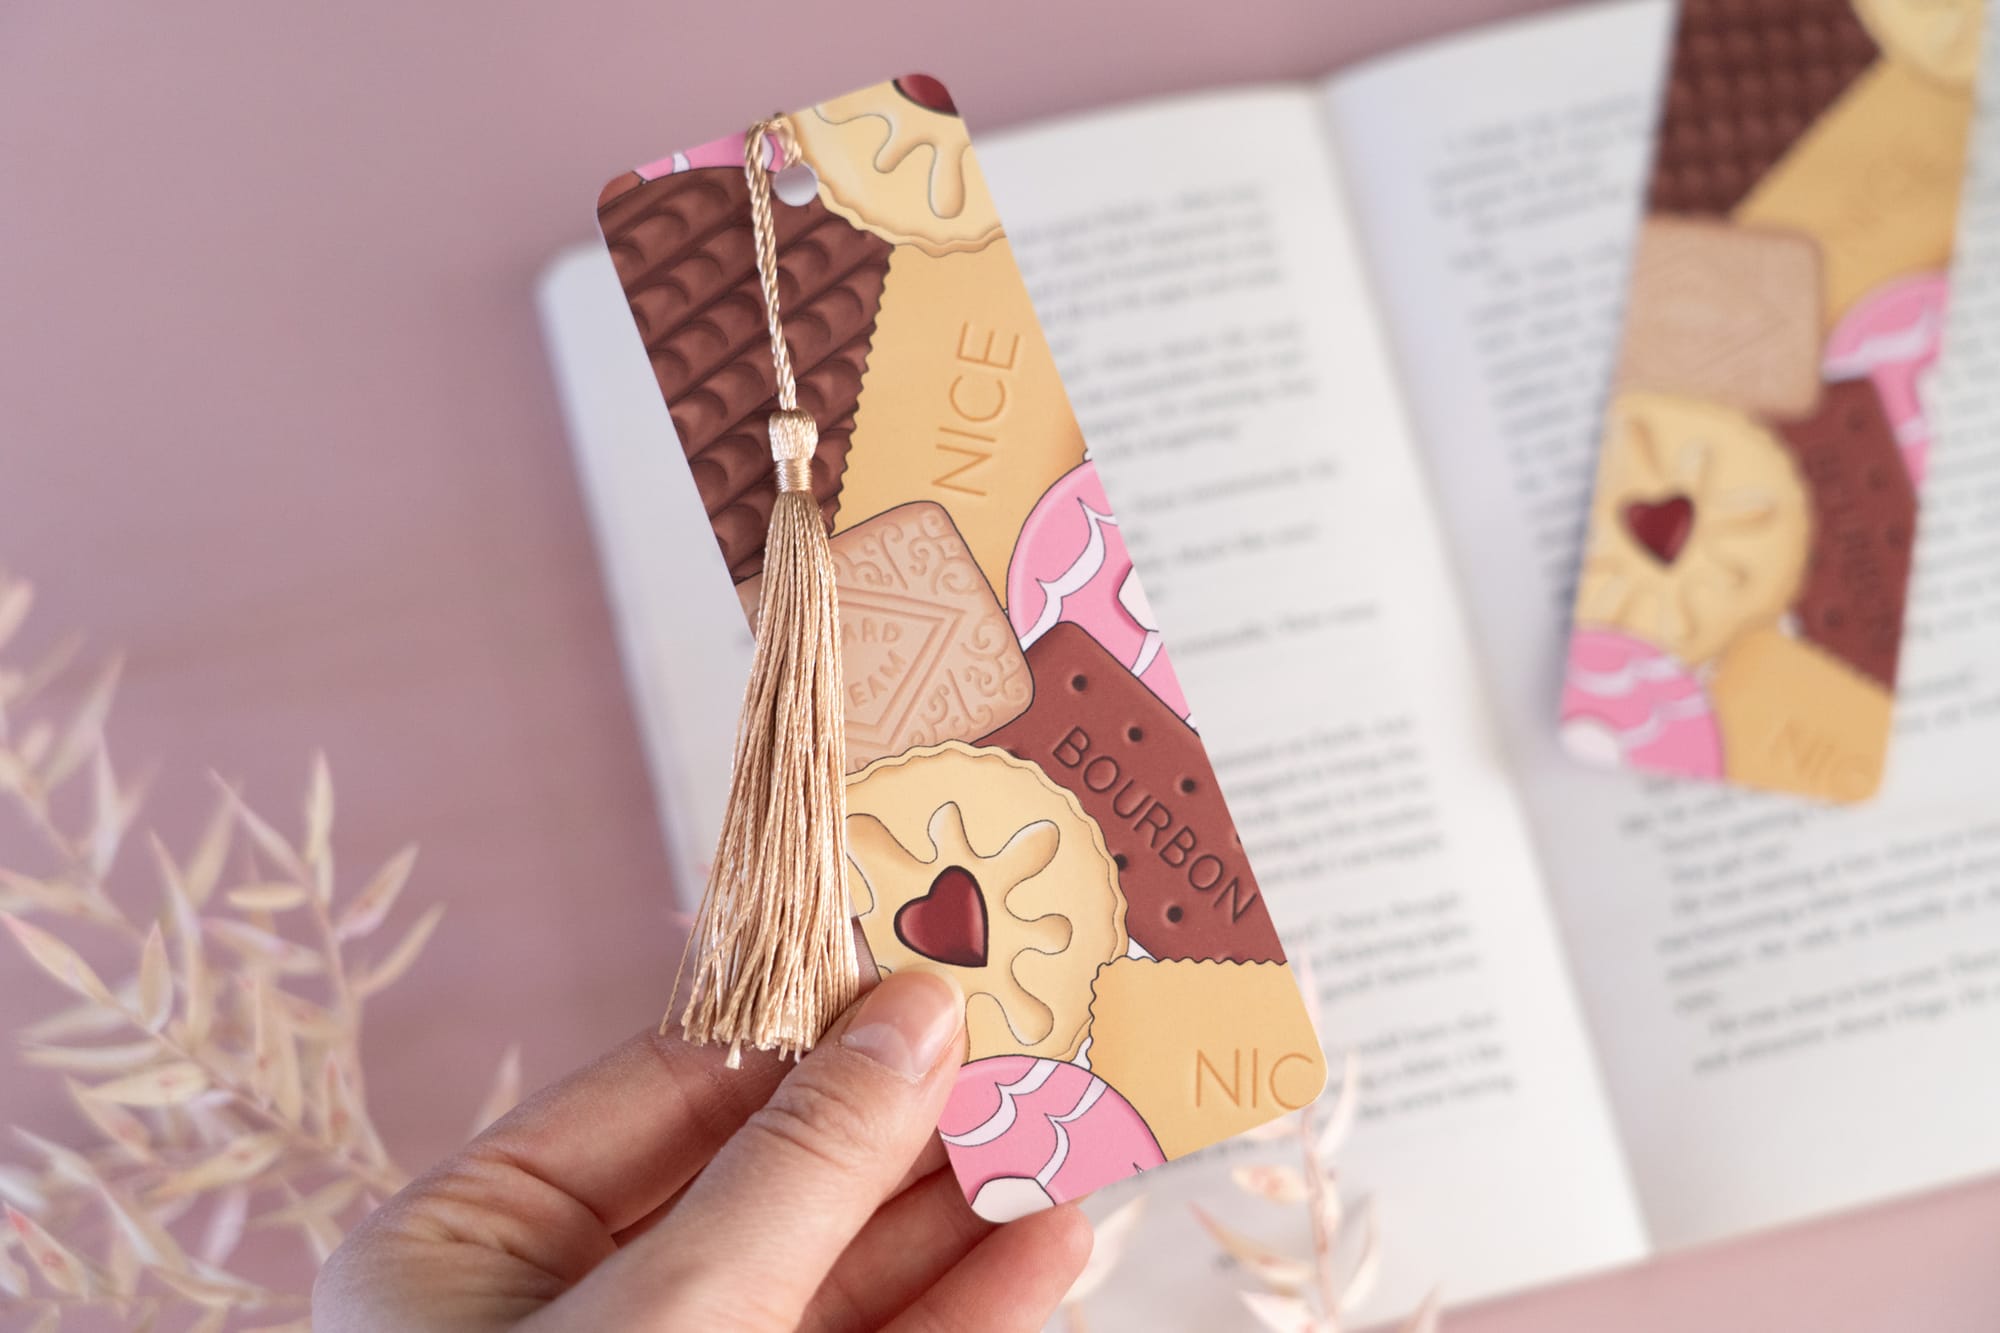
Take photos of products at an angle
Whether that be a top-down photo or even from the side, it gives it more of an interesting edge. Top-down, dead centre & straight is fine, but it looks a bit boring sometimes, especially when looking at a page of listings that all look the same, so mix it up a bit!
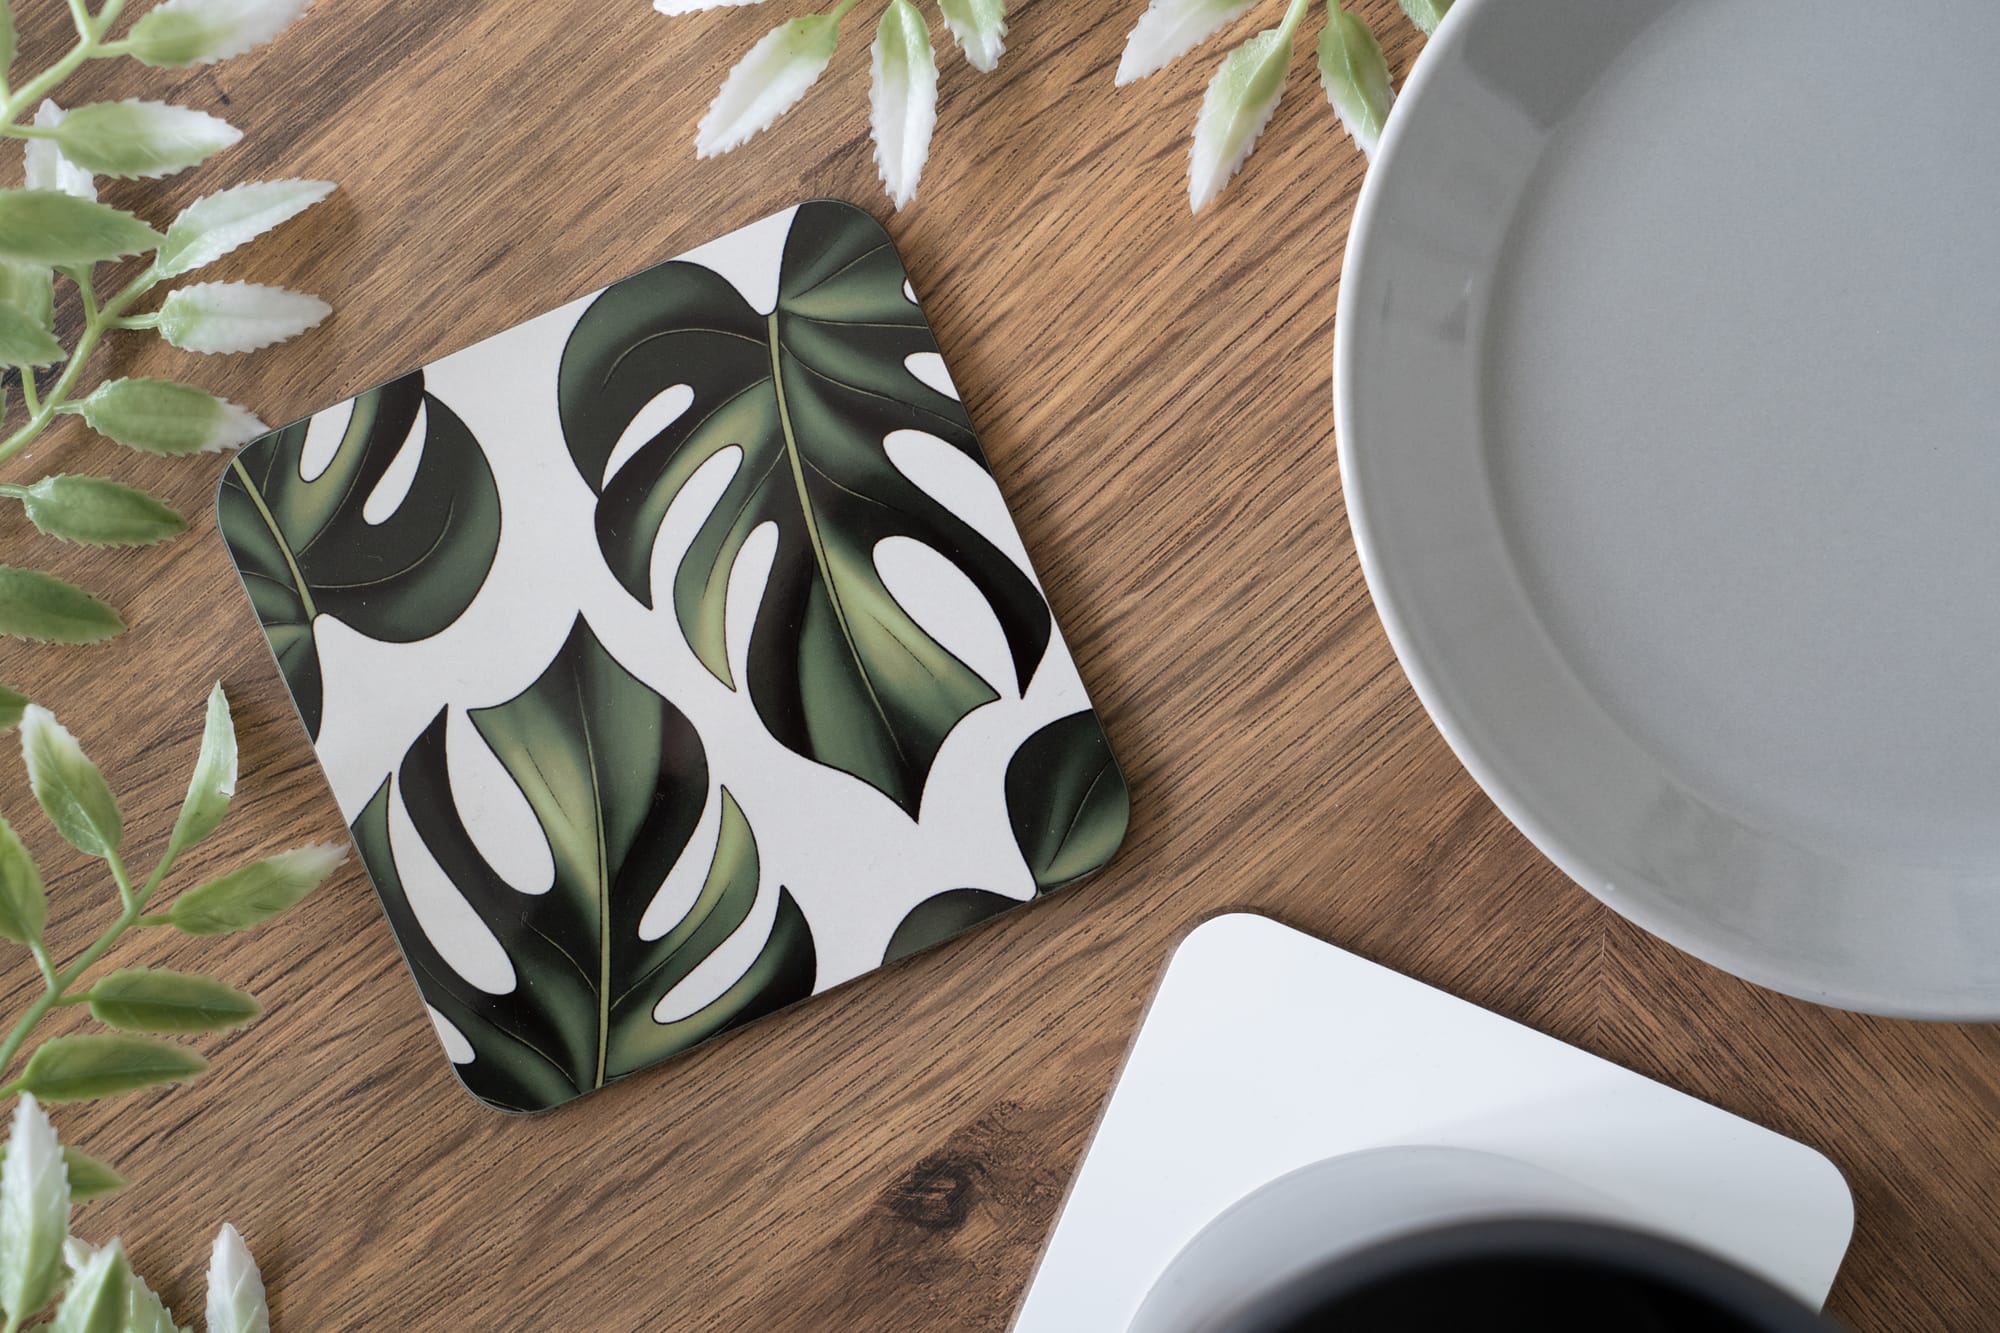
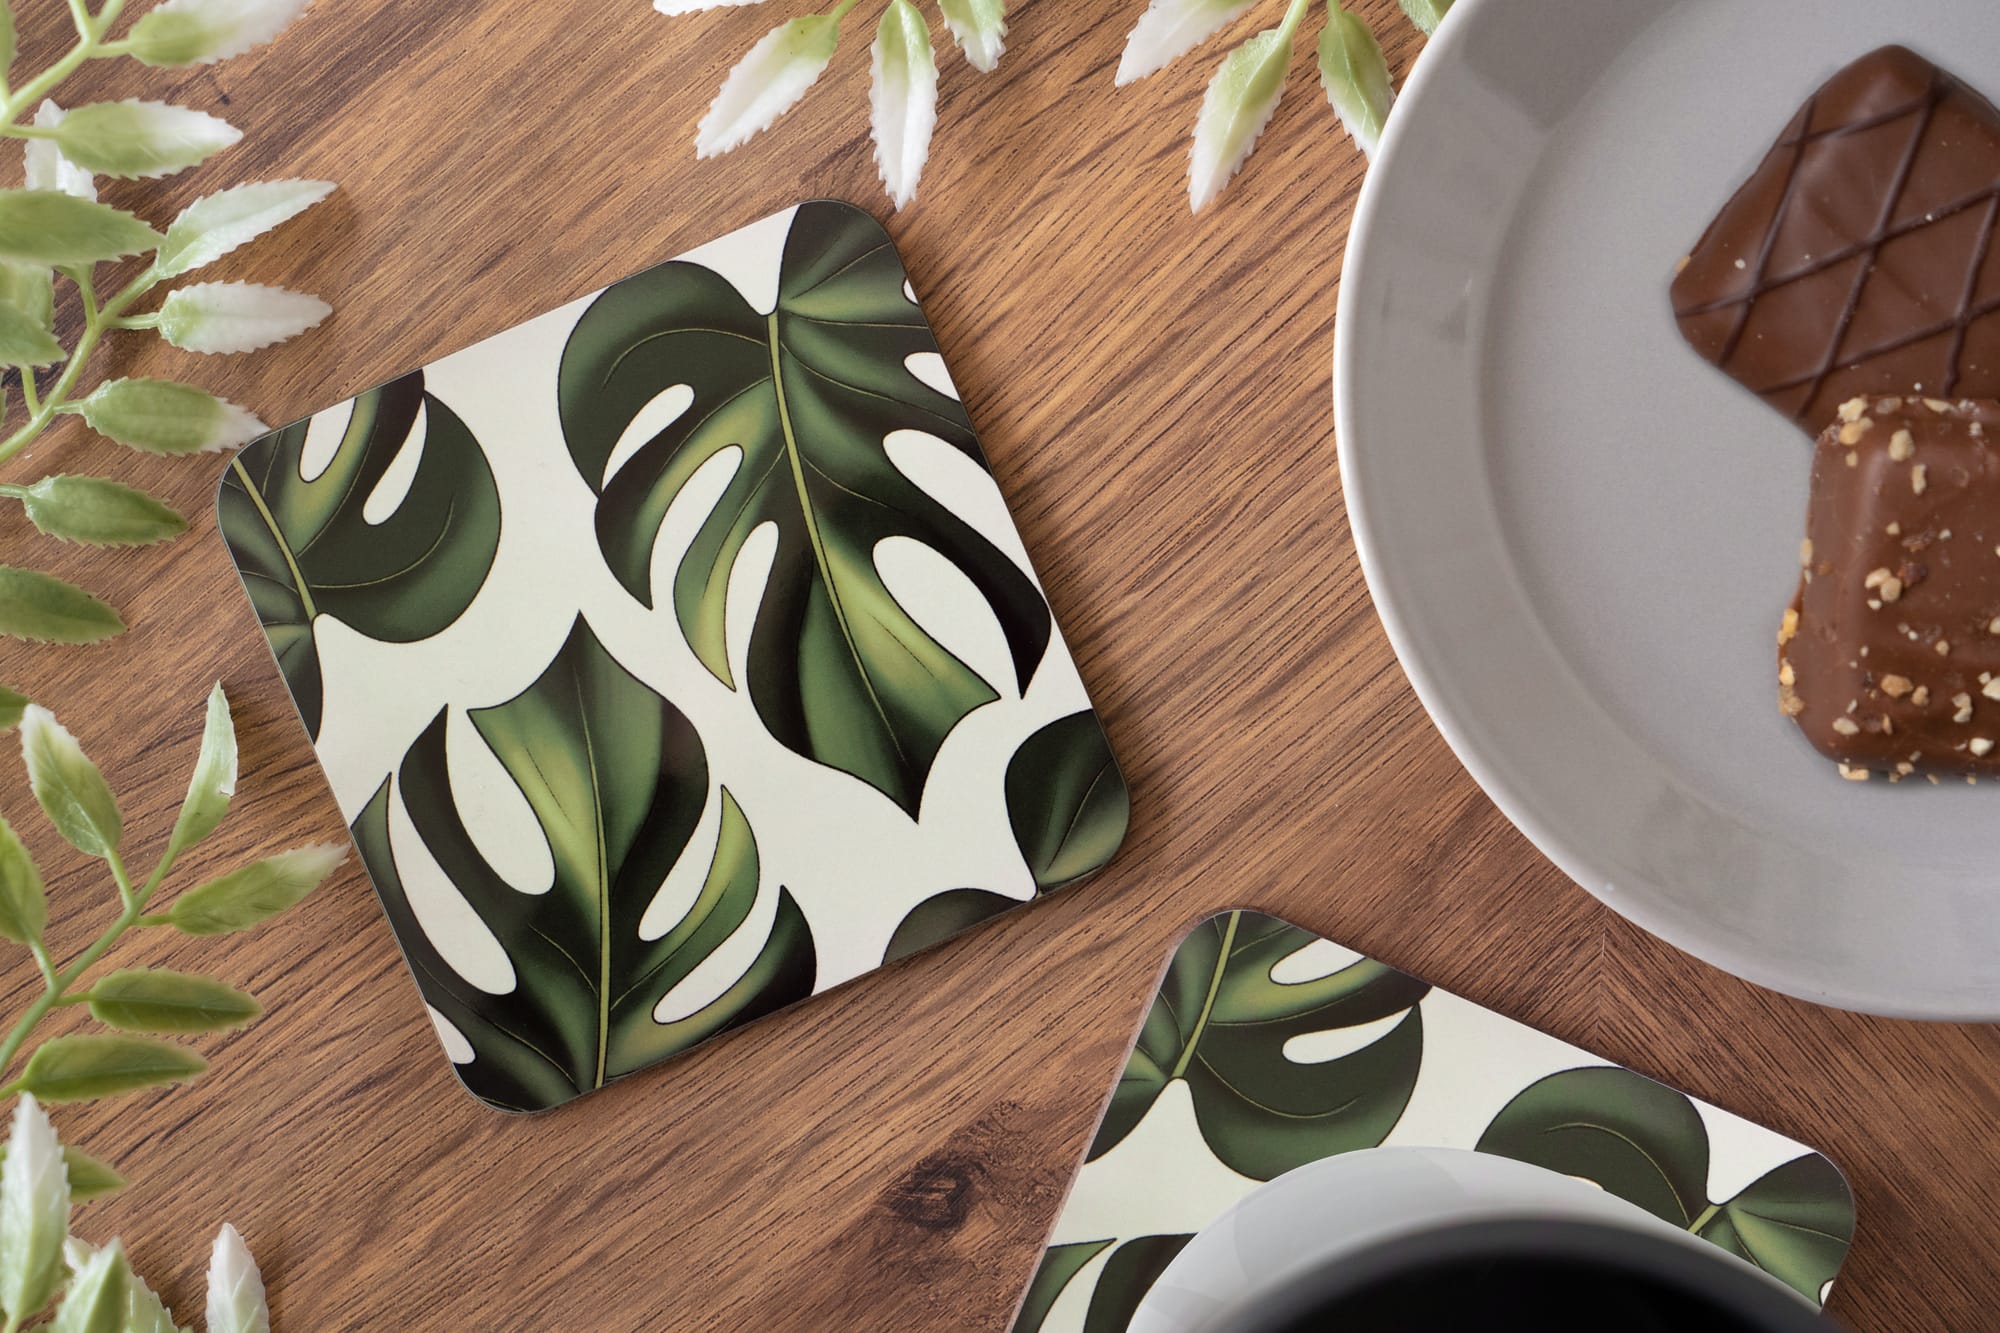
Monstera Coaster, £4
Edit your photos!
It doesn't matter whether you use a camera or your phone, use an app to edit those photos. Just look at the difference between the two photos above. The one on the left is as taken with no editing at all - it's a bit dark, the colours aren't quite right and I also need to edit in a coaster and biscuits!. The one on the right is after a little editing in Lightroom and Photoshop - apps like Snapseed do exactly the same things on your phone, and it's free!
Making a photo look more appealing even if it's adjusting brightness really makes a difference in whether someone will look and/or purchase your product.
I'll be doing a whole post on editing photos in more detail, as it's actually something I really enjoy doing!
Don't forget to follow me on Instagram for all the latest or sign up to the mailing list on the shop to be the first to know of new products, exclusives, and 10% off your first order!