Packaging Prints
The best way to pack prints for posting to avoid damaged orders - you'd be surprised how many people don't do this!

I think we know by now how important packaging is to me, and I always see so many small businesses say about their prints arriving damaged, and it drives me crazy because there is a simple solution to this, and it really boggles my mind when businesses that sell lots of prints do not include this in their packaging.
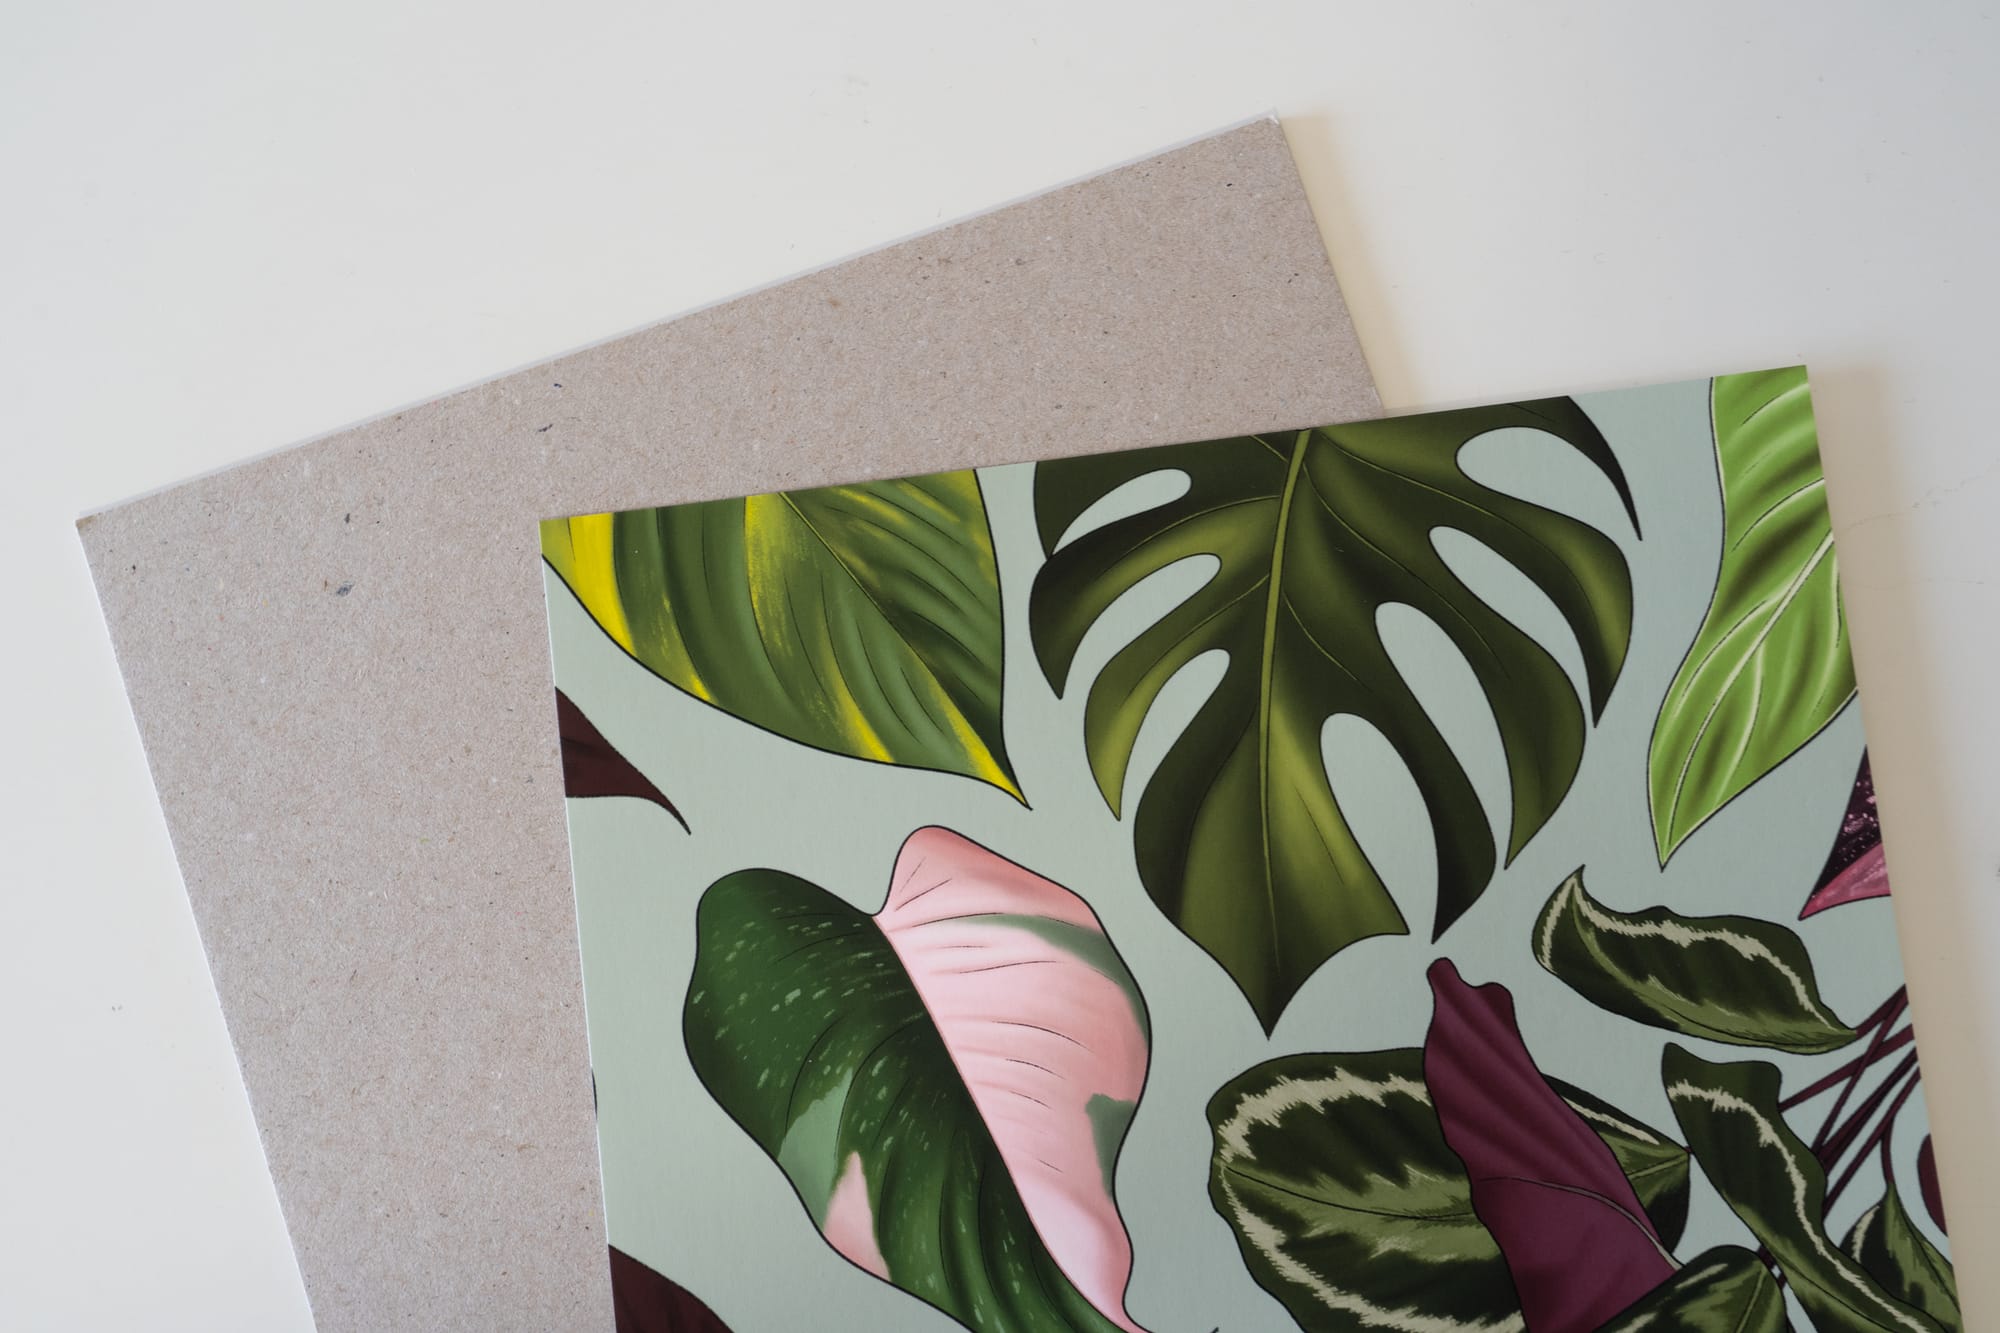
Greyboard.
That's it.
I'm not saying it's a magical solution and all orders will turn up undamaged, but I have sent A LOT of prints in my 5+ years running this business, and only a handful have ever been damaged - it's usually been something way worse than getting a bit dinged on corners, I literally had an order turn up to a customer that had been bent in half, that's some effort to do that, and I don't think no matter how you pack it, it would've prevented that, it literally looked like it had been caught in something!
People are usually paying a little bit more for prints, than say for a card, so it's important that orders turn up in good condition. Obviously no business has any control over how postal and delivery services handle orders, but if you can do your best to make sure it is packaged properly to minimise the potential for any damage, than you know you've done as much as you can.
So anyway, here's just a quick rundown on how I pack my orders for posting:
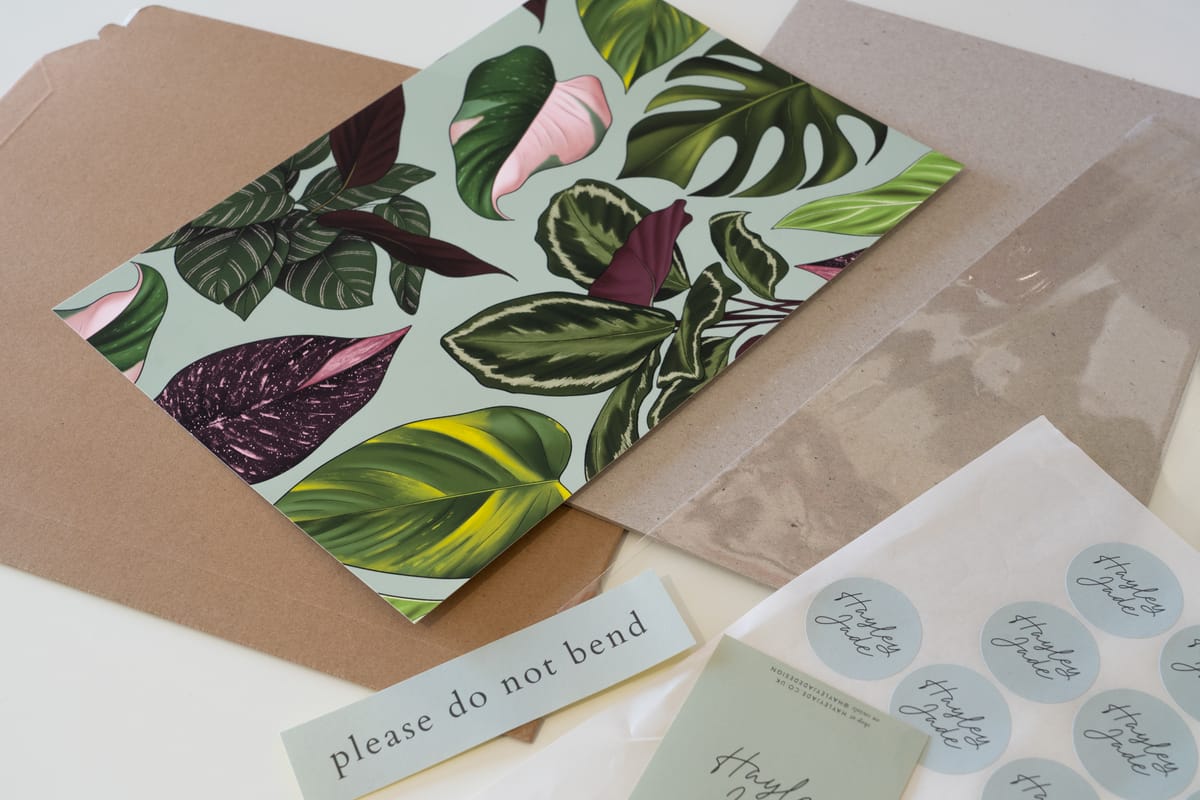
- Greyboard (not corrugated card, as this can be bent easily), ideally a little bigger than the print itself, in the cello bag with the print itself. I tend to buy A4+ and A3+ sizes so that there is some clearance around the print in the cello bag. I buy mine from here (not aff.).
- Post it in a rigid card envelope or postal box. NOT the flimsy do not bend envelopes, even A5 sized prints. Rigid envelopes have more prominent corners on that are harder to damage as they're made from a thicker card, and this is where most the damage is done. I post prints in a postal box if it's going international, or if there's 3 or more prints if posted in the UK. The more time it spends being sent around, the more chances for it to get damaged.
- If posting in a box, make sure to use filler to fill any space - this can be small zig zag filler, or larger paper filler - as the print rattling around in a box can still get damaged corners if chucked around enough. And I'm pretty sure postal/couriers do just chuck stuff around a lot.
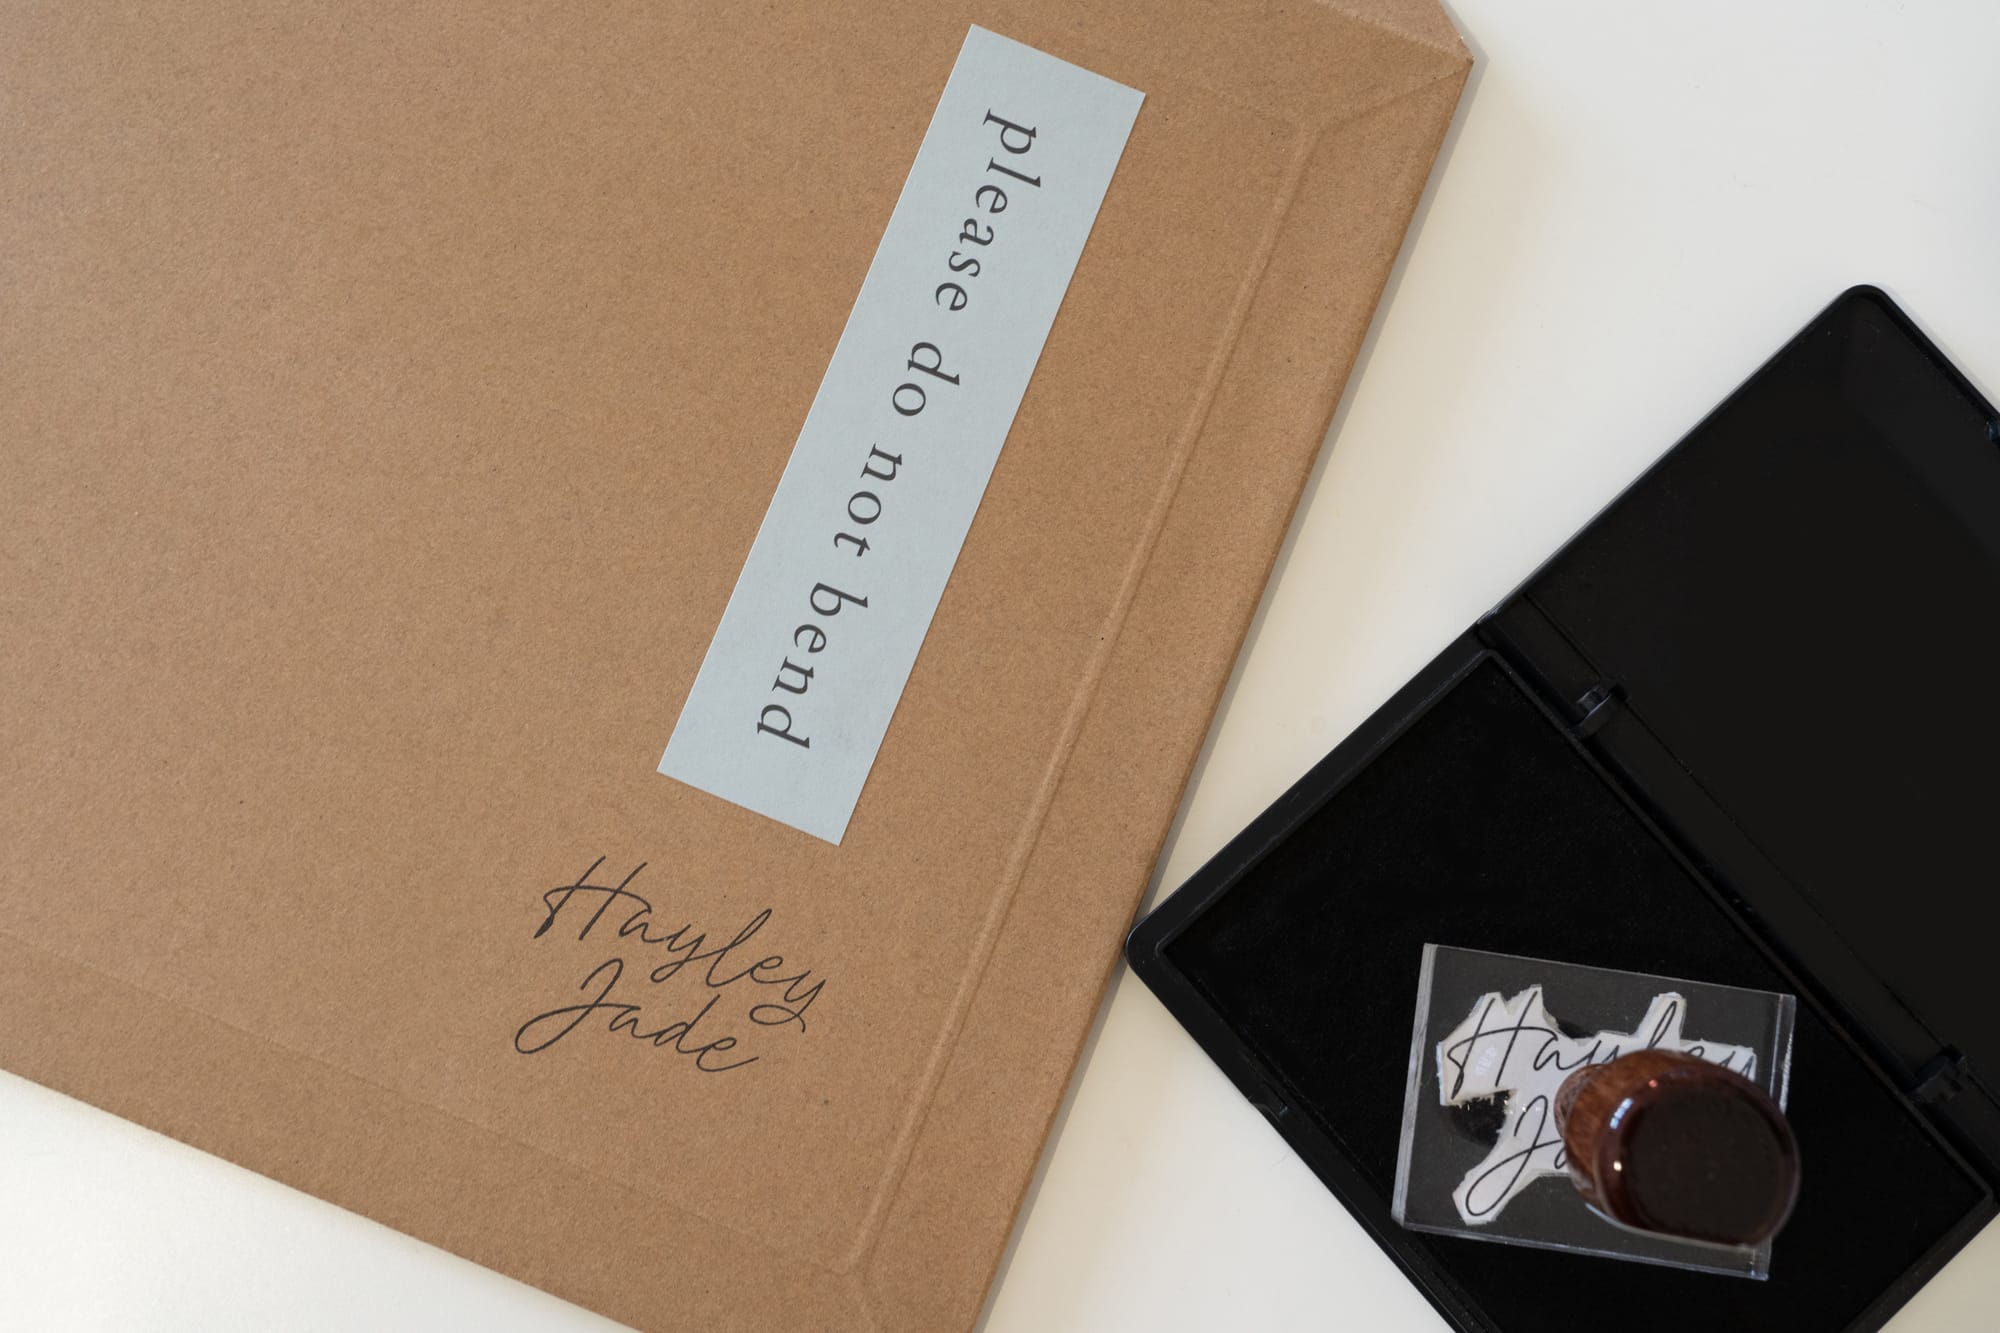
- Add do not bend stickers on packaging, particularly envelopes. Fragile can also work although I'd use them as well as the DNB on envelopes. I print my own do not bend stickers to add to all my envelopes that don't have it printed on (I only use C5 DNB envelopes for cards or smaller, not for prints).
- Tape. Tape up the envelope, even if it has a little sticky tab, because the amount of those that just come undone is crazy. And tape all open sides of any boxes too, not just the 'closed' side, just in case!
It really doesn't take much to protect your art prints a little. I know adding greyboard is an extra cost that maybe something some people can't afford, but that's where you then to need look at the price of your prints, and include it in the costs of creating that print. I include it as part of the costs, because every print goes out with a bit of greyboard, even at markets, so it's essentially part of the product. I worked out that an A4 sized bit of greyboard costs me around £0.46 per print.